Every day a rental sits empty costs you money. For Los Angeles landlords and property managers, vacant units between tenants translate directly to lost income. Effective cleaning protocols can reduce vacancy periods by up to 30%, helping you fill units faster while maintaining high property standards. This guide will show you exactly how to clean rental properties quickly and thoroughly, turning vacant days into revenue days.
Table of Contents
- Introduction To Rental Property Turnover Cleaning
- Prerequisites: What You Need Before Starting
- Step-By-Step Cleaning Process For Rental Properties
- Health And Safety Best Practices
- Common Mistakes And How To Avoid Them
- Expected Outcomes And Success Metrics
- Troubleshooting And Quality Control
- Discover Professional Rental Cleaning Services In Los Angeles
- Frequently Asked Questions
Key Takeaways
| Point | Details |
|---|---|
| Checklists boost satisfaction | Using standardized cleaning checklists raises tenant satisfaction by over 25%. |
| Professional cleaning saves time | Professional services cut vacancy days by approximately 3.5 compared to DIY methods. |
| Plan for 4 to 8 hours | Typical turnover cleaning requires 4 to 8 hours depending on unit size and condition. |
| Pre-inspections prevent problems | Pre-clean walkthroughs help identify priority areas and reduce missed cleaning spots. |
| Safety protocols protect everyone | Following proper health and safety procedures protects both tenants and cleaning staff. |
Introduction to Rental Property Turnover Cleaning
Reducing vacancy time is crucial for maximizing rental income, especially in competitive markets like Los Angeles where demand is high but so are tenant expectations. Post-pandemic health concerns have elevated cleaning standards, with tenants expecting spotless, sanitized units before move-in. A standardized cleaning approach improves both speed and quality compared to ad-hoc efforts.
Research shows that effective cleaning reduces vacancy periods by up to 30%, directly impacting your bottom line. When you implement consistent protocols, you avoid the costly mistakes of rushed or incomplete cleaning that can delay tenant placement or generate complaints.
Key benefits of systematic turnover cleaning include:
- Faster tenant placement through consistent quality
- Reduced liability from proper sanitization and documentation
- Higher tenant satisfaction leading to longer lease terms
- Improved property reputation in competitive rental markets
- Lower long-term maintenance costs from regular deep cleaning
Prerequisites: What You Need Before Starting
Before you begin cleaning, gather the right supplies and complete a thorough assessment. EPA-approved disinfectants are essential for safety and compliance, particularly for high-touch surfaces that harbor pathogens. Personal protective equipment including gloves, masks, and eye protection safeguards both cleaners and future tenants from chemical exposure.
Your essential supply list should include:
- EPA-approved disinfectants and all-purpose cleaners
- Microfiber cloths, mops, and vacuum with HEPA filter
- Bathroom-specific cleaners and scrub brushes
- Glass cleaner and floor-appropriate cleaning solutions
- Trash bags, paper towels, and protective equipment
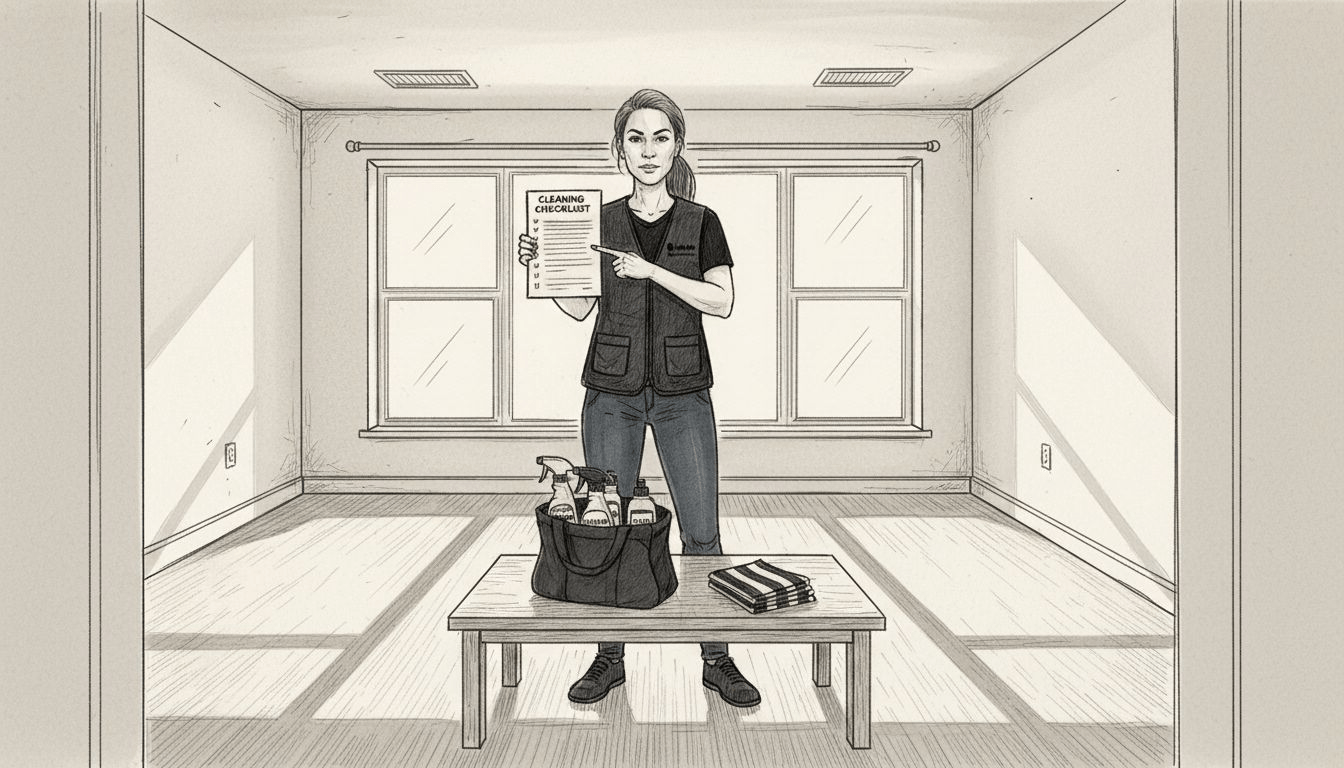
A pre-clean inspection checklist helps you identify existing damage, prioritize heavily soiled areas, and document the unit’s condition before cleaning begins. This step prevents disputes later and ensures you allocate time appropriately. Walk through each room systematically, noting repairs needed and areas requiring extra attention.
Basic knowledge of cleaning safety protocols is non-negotiable. Understanding proper chemical dilution ratios, ventilation requirements, and surface-appropriate products prevents damage to fixtures and finishes. Review your cleaning supplies and equipment to ensure you have everything needed for efficient work.
Pro Tip: Take timestamped photos during your pre-clean inspection. This documentation protects you from false damage claims and provides a clear before-and-after record of your cleaning quality.
Step-by-Step Cleaning Process for Rental Properties
An efficient cleaning workflow follows a logical top-to-bottom, clean-to-dirty sequence that prevents recontamination and wasted effort. Starting with a damage assessment and ending with a quality check ensures nothing gets missed.
Follow this proven sequence:
- Complete pre-clean walkthrough documenting damage and priority areas
- Remove all trash and debris from every room
- Dust ceiling fans, light fixtures, vents, and crown molding working downward
- Clean and disinfect all high-touch surfaces including switches, handles, and counters
- Deep clean bathrooms with EPA-approved disinfectants, scrubbing tile, grout, and fixtures
- Thoroughly clean kitchen including appliance interiors, exteriors, and behind removable components
- Clean windows, mirrors, and glass surfaces streak-free
- Vacuum or sweep all floors, then mop hard surfaces or deep clean carpets
- Conduct final quality inspection using your checklist
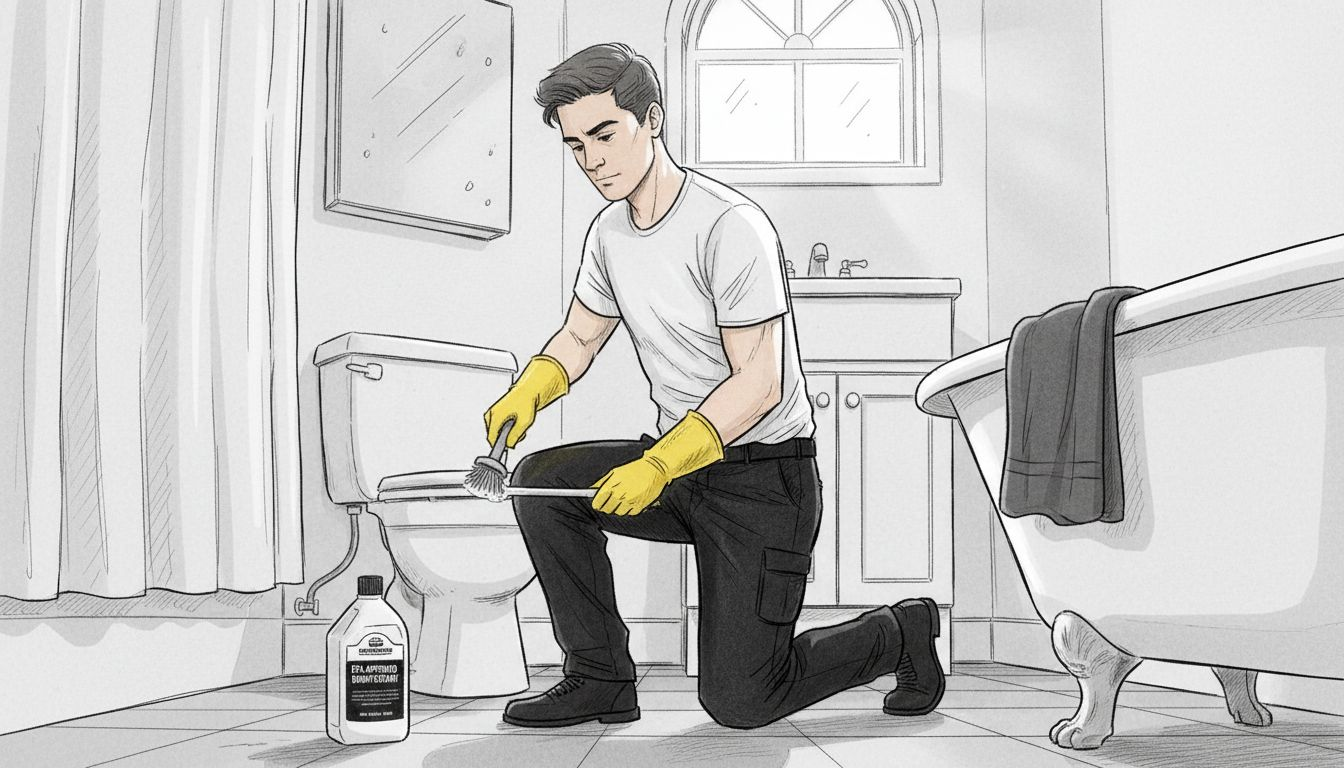
Bathrooms require particular attention as tenant complaints frequently cite bathroom cleanliness. Scrub toilets inside and out, disinfect all surfaces, remove soap scum and hard water deposits, and ensure grout is clean and mold-free.
Kitchens demand similar thoroughness. Clean inside the refrigerator, oven, microwave, and dishwasher. Degrease stovetops and range hoods. Wipe down cabinets inside and out. Don’t forget less obvious areas like under the sink or inside drawers.
| Cleaning Task | Time Estimate | Priority Level |
|---|---|---|
| Bathroom deep clean | 45-60 minutes per bathroom | High |
| Kitchen deep clean | 60-90 minutes | High |
| Living areas dust and vacuum | 30-45 minutes per room | Medium |
| Windows and glass | 20-30 minutes total | Medium |
| Final inspection | 15-20 minutes | High |
This deep cleaning process typically takes 4 to 8 hours for an average rental unit, depending on size and condition.
Pro Tip: Work in a consistent pattern room by room rather than jumping between tasks. This approach prevents missed spots and helps you maintain momentum for faster completion.
Health and Safety Best Practices
Proper safety protocols protect everyone involved in the cleaning process and reduce your liability. Use only EPA-approved disinfectants that have proven efficacy against common pathogens. These products meet stringent standards for safety and effectiveness when used according to label directions.
Ventilation is critical when using cleaning chemicals. Open windows and doors to create airflow, reducing chemical concentration in the air and preventing respiratory irritation. Never work in enclosed spaces without adequate ventilation, particularly when using strong disinfectants or ammonia-based products.
Personal protective equipment is not optional. Wear chemical-resistant gloves to protect your skin from irritation and burns. Use masks or respirators when working with aerosol products or in dusty conditions. Safety glasses prevent splashes from reaching your eyes.
Key safety rules include:
- Never mix cleaning products, especially bleach with ammonia or acids
- Follow manufacturer contact time instructions for disinfectants to work properly
- Store chemicals in original labeled containers away from food and out of reach
- Dispose of cleaning waste and contaminated materials properly
- Wash hands thoroughly after cleaning even when wearing gloves
“Proper disinfectant contact time is essential for effective pathogen elimination. Most EPA-approved disinfectants require surfaces to remain wet for 3 to 10 minutes to achieve their stated kill claims.”
Rushing the disinfection process by wiping surfaces dry too quickly negates the antimicrobial benefits you’re paying for.
Common Mistakes and How to Avoid Them
Missing high-touch areas leads to 45% of tenant complaints about cleanliness. Light switches, door handles, cabinet pulls, and appliance controls harbor germs but often get overlooked in rushed cleaning. Use a detailed checklist to systematically verify every high-touch point receives attention.
Skipping the pre-clean inspection reduces efficiency because you discover problems mid-clean rather than planning for them upfront. This reactive approach wastes time backtracking and gathering additional supplies. Always walk through first.
Using non-EPA-approved products or household cleaners risks inadequate sanitization. Products marketed as “disinfectants” without EPA registration may not effectively kill pathogens, leaving you liable if tenants get sick. Verify EPA registration numbers on product labels.
Frequent mistakes to avoid:
- Rushing through cleaning to save time, resulting in missed spots and callbacks
- Using dirty cleaning tools that spread grime rather than remove it
- Ignoring hard-to-reach areas like behind toilets, under appliances, or high shelves
- Failing to test cleaning products on surfaces before widespread use
- Not documenting your cleaning process for quality control and liability protection
Allocate sufficient time based on unit size and condition. A 500-square-foot studio needs different preparation than a 1,500-square-foot three-bedroom. Review common cleaning mistakes specific to rental properties to avoid repeating them.
Expected Outcomes and Success Metrics
Understanding realistic timeframes helps you plan turnovers effectively. Typical rental cleaning takes 4 to 8 hours depending on unit size, previous tenant cleanliness, and whether you’re doing basic or deep cleaning. Larger units or those requiring carpet cleaning extend this timeline.
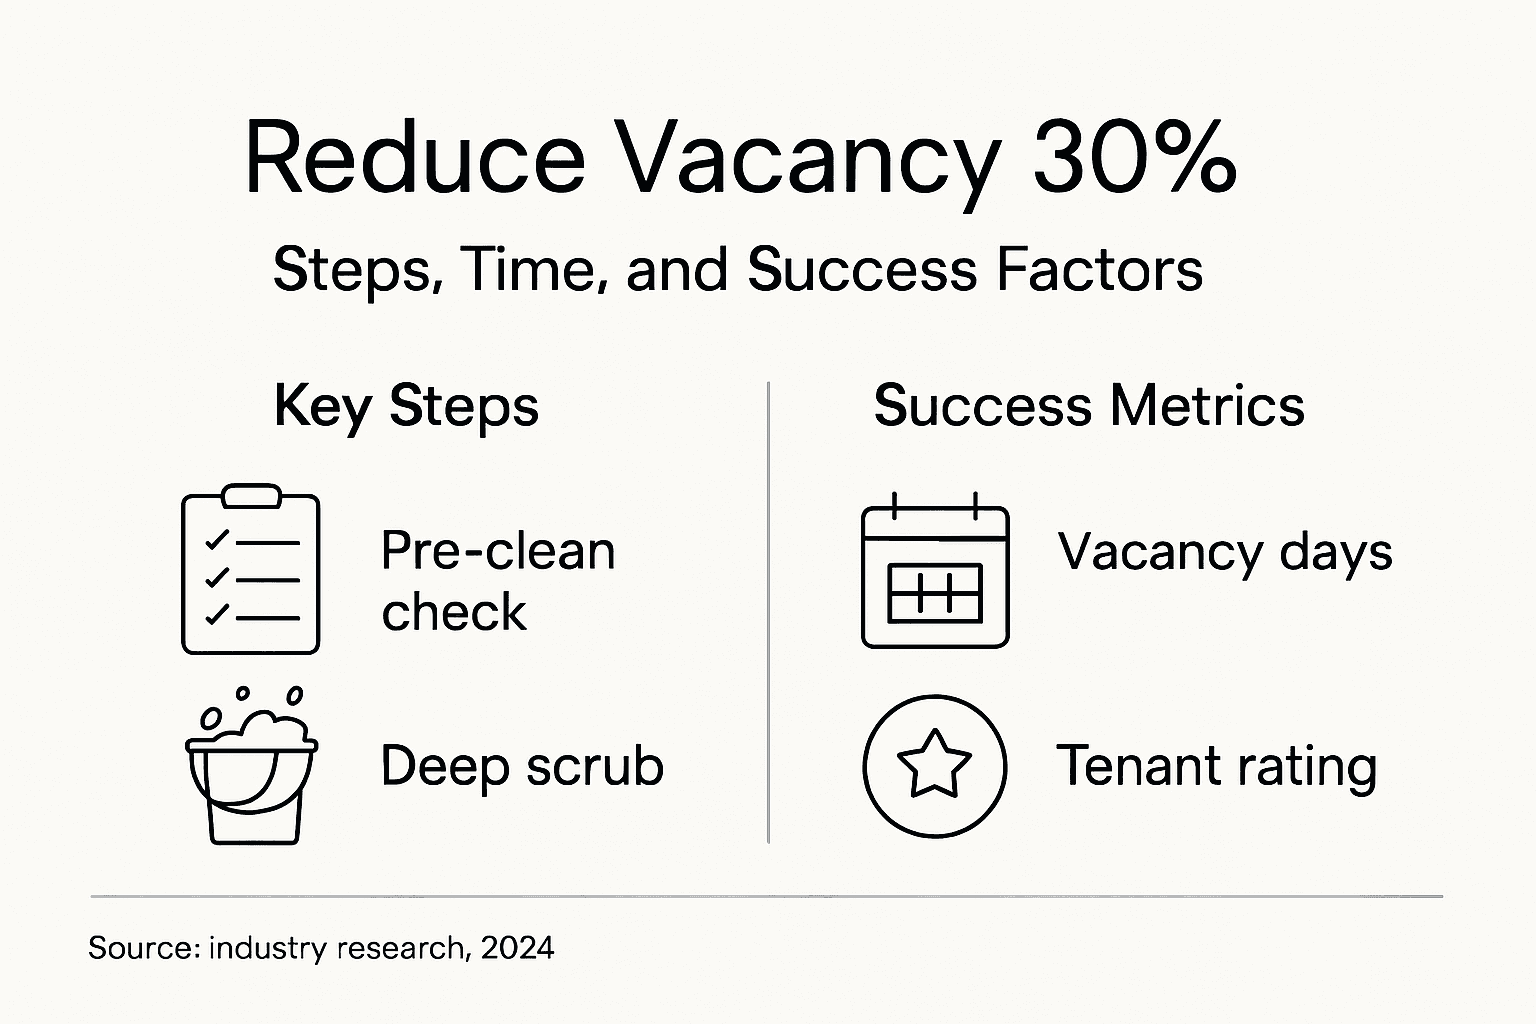
Efficient cleaning can reduce vacancy days by 30%, translating to significant revenue gains. For a unit renting at $2,500 monthly, cutting vacancy from 10 days to 7 days saves over $250 per turnover. Multiply this across multiple units and the financial impact becomes substantial.
Research shows that using checklist-based cleaning protocols with consistent quality inspections increases tenant satisfaction rates by more than 25% and lowers vacancy frequency. Happy tenants renew leases, reducing your turnover costs further.
| Metric | DIY Cleaning | Professional Cleaning |
|---|---|---|
| Average cleaning time | 6-10 hours | 4-6 hours |
| Vacancy days | 8-12 days | 4-6 days |
| Tenant satisfaction | 65-75% | 85-95% |
| Cost per turnover | $100-200 labor | $250-450 service |
| Quality consistency | Variable | Standardized |
Professional cleaning shortens vacancy by an average of 3.5 days compared to DIY approaches. While upfront costs are higher, faster placement and reduced management time often justify the investment. Evaluate your DIY versus professional cleaning tradeoffs based on your portfolio size and time availability.
Cost efficiency balances cleaning expenses against rental income. Spending $350 on professional cleaning that reduces vacancy by four days on a $2,500 monthly rental nets approximately $333 in additional revenue, essentially making the service cost neutral while freeing your time.
Troubleshooting and Quality Control
Implementing quality control measures ensures consistent results across all turnovers. Use the same detailed checklist for every unit, verifying completion of each task before moving forward. This systematic approach prevents the common problem of forgetting steps when rushed or distracted.
Post-clean inspections should be thorough and documented. Walk through with your checklist, examining each area in good lighting. Take photos of the cleaned unit for your records. This documentation proves cleaning quality if disputes arise and helps you identify areas where your process needs refinement.
Tenant feedback provides valuable quality control data. When new tenants report issues, investigate whether the problem stemmed from incomplete cleaning, damaged items missed during inspection, or unrealistic tenant expectations. Address cleaning gaps immediately through re-cleaning or process improvements.
Troubleshooting common issues:
- Streaky windows or mirrors: Switch to microfiber cloths and proper glass cleaner, wiping in consistent patterns
- Lingering odors: Deep clean soft surfaces, use enzyme cleaners on organic stains, ensure proper ventilation
- Missed spots: Improve lighting during cleaning, use white glove inspections, refine checklist detail level
- Inconsistent results: Standardize cleaning products, create step-by-step procedures, train all cleaners identically
Final inspection checklists catch problems before tenants move in. According to industry research, checklist-based protocols with quality inspections increase satisfaction by over 25% and reduce callback frequency.
Re-clean heavily soiled spots immediately rather than hoping they’ll pass inspection. Addressing issues proactively maintains your reputation and prevents tenant complaints that damage your property’s marketability.
Pro Tip: Create a photo checklist showing what properly cleaned areas should look like. This visual reference helps maintain consistency across different cleaners and properties while speeding up training for new team members.
Discover Professional Rental Cleaning Services in Los Angeles
While this guide equips you with the knowledge to clean rental properties effectively, professional services offer significant advantages for busy landlords and property managers. Expert cleaning teams follow standardized checklists and quality controls specifically designed for rental turnovers, ensuring consistent results that meet tenant expectations.
Professional services reduce vacancy days through efficient processes and experienced staff who complete turnovers faster than DIY approaches. They use EPA-approved cleaning products and follow proper safety protocols, reducing your liability while delivering the deep cleaning tenants expect. The Maid Society provides move-in and move-out cleaning services tailored for Los Angeles rental properties, helping you maintain high standards while focusing on property management rather than cleaning logistics. Our vetted, trained team delivers the deep cleaning new tenants expect, backed by consistent quality and reliable scheduling. Explore how The Maid Society can streamline your turnover process.
Frequently Asked Questions
What is the best cleaning checklist for rental turnovers?
A comprehensive checklist should cover all high-touch areas, bathrooms, kitchen appliances and surfaces, floors, windows, and include a final quality inspection step. Using standardized cleaning checklists ensures thoroughness and maintains consistent quality between turnovers, preventing missed spots that generate tenant complaints.
How long does a typical rental turnover cleaning take?
Cleaning usually requires 4 to 8 hours depending on unit size, condition, and whether you’re performing basic or deep cleaning. Studios and one-bedrooms typically take 4 to 5 hours, while larger three-bedroom units may need 7 to 8 hours. Efficient cleaning processes reduce vacancy time and speed tenant placement, directly impacting rental income.
What are the key health and safety protocols during rental cleaning?
Always use EPA-approved disinfectants that meet safety and efficacy standards for pathogen elimination. Wear personal protective equipment including chemical-resistant gloves, masks, and safety glasses. Ensure adequate ventilation when using cleaning chemicals by opening windows and doors, and never mix incompatible products like bleach with ammonia to prevent toxic reactions.
When should I hire professional cleaning services versus DIY?
Consider professional services for high-turnover properties, large units, or when you need quick, consistent results that reduce vacancy days. Professionals typically complete turnovers 2 to 4 hours faster than DIY and deliver standardized quality. DIY may suit small portfolios with tight budgets if you can commit time and follow strict protocols with detailed checklists.
Recommended
- Post-Construction Cleaning for Landlords: Ready Units Fast
- Post Construction Cleaning Guide for Ready-to-Rent Homes
- Cleaning as a Marketing Tool: Boosting Property Appeal
- Master the Final Inspection Cleaning Process for Turnover
Get Cleaning Tips & Exclusive Offers
Join our community for time-saving hacks and special discounts delivered to your inbox.