TL;DR:
- Proper post-construction cleaning requires a detailed, standardized checklist focusing on health, safety, and compliance.
- Interior cleaning involves top-to-bottom dust removal, surface wiping, and thorough attention to typically missed spots.
- Exterior and HVAC cleaning are essential for safety and air quality, using appropriate tools and techniques to ensure readiness.
Turning a freshly built or renovated site into a safe, spotless, move-in ready space is harder than most property owners and contractors expect. Construction leaves behind layers of fine dust, sharp debris, chemical residues, and airborne particles that standard cleaning simply cannot address. Skip the right steps, and you risk health hazards, failed inspections, and unhappy tenants or buyers. A structured, room-by-room checklist is the most reliable way to make sure nothing gets missed, every surface meets occupancy standards, and your project ends on a professional note.
Table of Contents
- Criteria for an effective post-construction cleaning checklist
- Interior checklist: Room-by-room cleaning essentials
- Exterior checklist: Entryways, walks, landscaping, and surroundings
- HVAC and air quality checklist: Ducts, filters, and airborne safety
- Why attention to detail matters more than speed in post-construction cleaning
- Next steps: Professional cleaning services for Los Angeles move-ins
- Frequently asked questions
Key Takeaways
| Point | Details |
|---|---|
| Safety-driven checklist | Effective post-construction cleaning prioritizes health and safety standards to protect new occupants. |
| Room-by-room focus | Breaking the cleaning down by area ensures nothing is overlooked, with special attention to dust and debris control. |
| Exterior and HVAC attention | Don’t forget exterior cleaning and HVAC systems for full move-in readiness and lasting air quality. |
| Professional support available | Local Los Angeles cleaning services can help ensure flawless results with proven processes. |
Criteria for an effective post-construction cleaning checklist
A checklist is only as good as the standards behind it. Before you start scrubbing, you need to know what “clean” actually means in a post-construction context, because it goes well beyond wiping counters and sweeping floors.
Health and safety come first. Construction sites generate silica dust, drywall particles, and chemical residues that are invisible to the naked eye but genuinely dangerous. HEPA-filtered vacuums are required to capture fine particles like silica, which carries an OSHA permissible exposure limit (PEL) of 50 micrograms per cubic meter over an eight-hour workday. Exceeding that threshold puts occupants at risk for serious respiratory conditions. A checklist that ignores this standard is not just incomplete, it is a liability.
Efficiency through prioritization. Not all cleaning tasks carry equal weight. High-traffic areas, kitchens, bathrooms, and HVAC systems have the greatest impact on occupancy readiness. A well-designed post-construction cleaning overview sequences tasks from top to bottom, dry to wet, so you are not recontaminating surfaces you already cleaned.
Los Angeles compliance. California has specific indoor air quality and occupancy standards that go beyond federal minimums. Your checklist should account for local requirements around dust containment, waste disposal, and ventilation before tenants or buyers walk through the door.
Move-in readiness benchmarks. A useful frame is to treat your checklist like a home inspection punchlist. Every item should be verifiable, not just “dusted walls” but “walls wiped with damp microfiber from ceiling to baseboard, no visible residue.” Vague tasks create gaps.
Here is what an effective checklist must cover at minimum:
- Fine dust removal from all horizontal and vertical surfaces
- Debris and waste clearance from every room and exterior zone
- Window and glass cleaning, inside and out
- HVAC filter replacement and duct vacuuming
- Fixture and hardware polishing
- Floor cleaning by material type (tile grout scrubbing, hardwood buffing, carpet vacuuming)
- Final walkthrough against a documented standard
Statistic callout: OSHA’s PEL for respirable crystalline silica is 50 µg/m³ over 8 hours, making proper dust removal a legal safety requirement, not just a cosmetic concern.
With these criteria locked in, you have a foundation that makes every subsequent step purposeful rather than reactive.
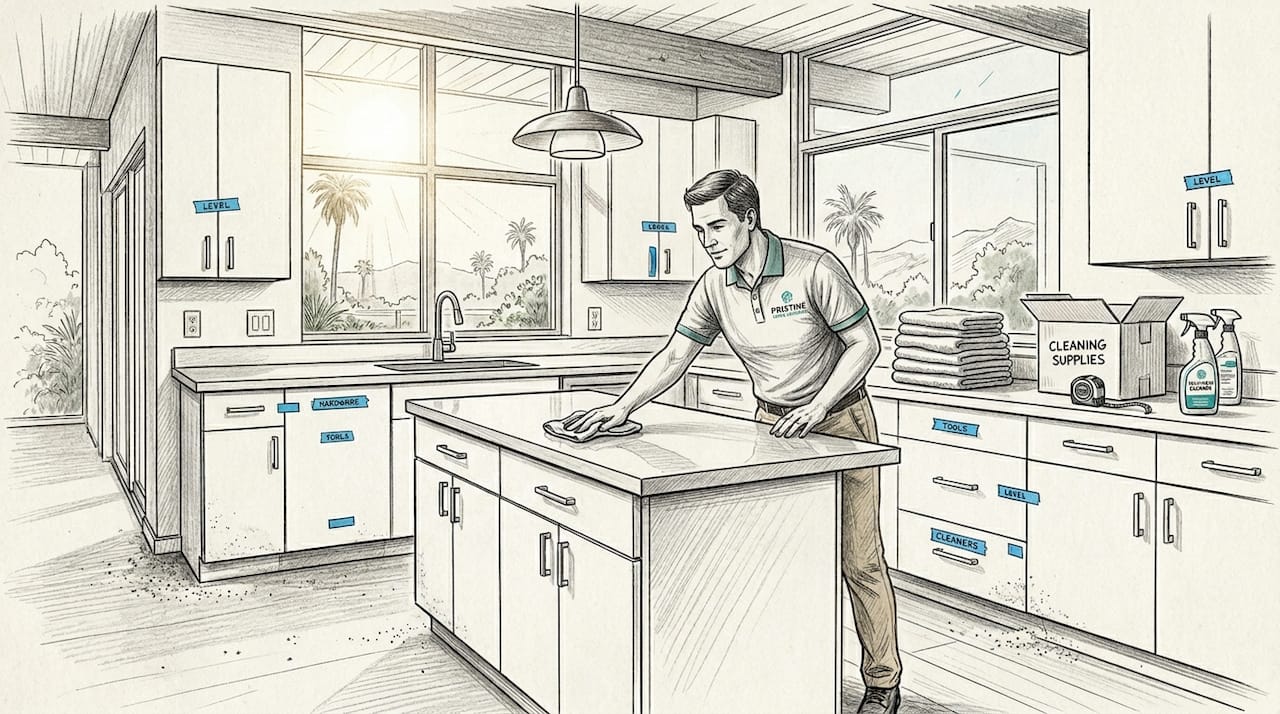
Interior checklist: Room-by-room cleaning essentials
With criteria established, let’s move through cleaning tasks for every interior space. The golden rule here is top-to-bottom, dry-before-wet. Dust falls. If you mop floors before wiping ceilings, you will redo the floors. Every time.
The right tool for fine dust. Dampened microfiber cloths capture fine dust far more effectively than dry rags or paper towels, which just redistribute particles into the air. Avoid dry sweeping on hard floors for the same reason. Use a HEPA vacuum first, then follow with a damp mop.
Here is the step-by-step sequence for interior cleaning:
- Ventilate the space. Open windows and run exhaust fans before starting. This reduces airborne particle concentration as you disturb settled dust.
- Vacuum all surfaces with a HEPA vacuum. Start at ceiling level: light fixtures, ceiling fans, crown molding, and tops of door frames.
- Wipe walls and baseboards. Use damp microfiber cloths. Pay extra attention to corners where drywall dust accumulates.
- Clean windows and glass. Interior glass picks up paint overspray and adhesive residue. Use a razor scraper carefully on tempered glass, then finish with glass cleaner.
- Clean cabinets and built-ins. Wipe interior shelves, drawer tracks, and door faces. Construction dust gets into every crevice.
- Scrub bathrooms. Grout lines, toilet bases, under-sink plumbing, and exhaust fan covers all need targeted attention.
- Deep clean the kitchen. Inside ovens, refrigerator interiors if installed, range hood filters, and under appliances are common missed spots.
- Clean all floors last. Vacuum, then mop or scrub by material type.
| Room | Key focus areas | Common missed spots |
|---|---|---|
| Bathrooms | Grout, fixtures, exhaust vents | Behind toilet, under vanity |
| Kitchen | Cabinets, appliances, range hood | Inside drawers, under sink |
| Living areas | Walls, baseboards, window sills | Light switch plates, door hinges |
| Bedrooms | Closet interiors, window tracks | Ceiling fan blades, vent covers |
Pro Tip: For ready-to-rent cleaning steps, photograph each room before and after cleaning. This creates a record that protects you during tenant move-in inspections and demonstrates the quality of your work.
Builders and general contractors often benefit from a deep cleaning process for builders that goes beyond standard residential protocols. For properties using natural or low-VOC finishes, new home interior cleaning methods help preserve those materials while still meeting occupancy standards.
Exterior checklist: Entryways, walks, landscaping, and surroundings
After handling interiors, the next step is ensuring the exterior is clean and welcoming. First impressions matter enormously for buyers, tenants, and inspectors. A spotless interior loses impact when the entryway is covered in concrete dust and the driveway is littered with construction debris.
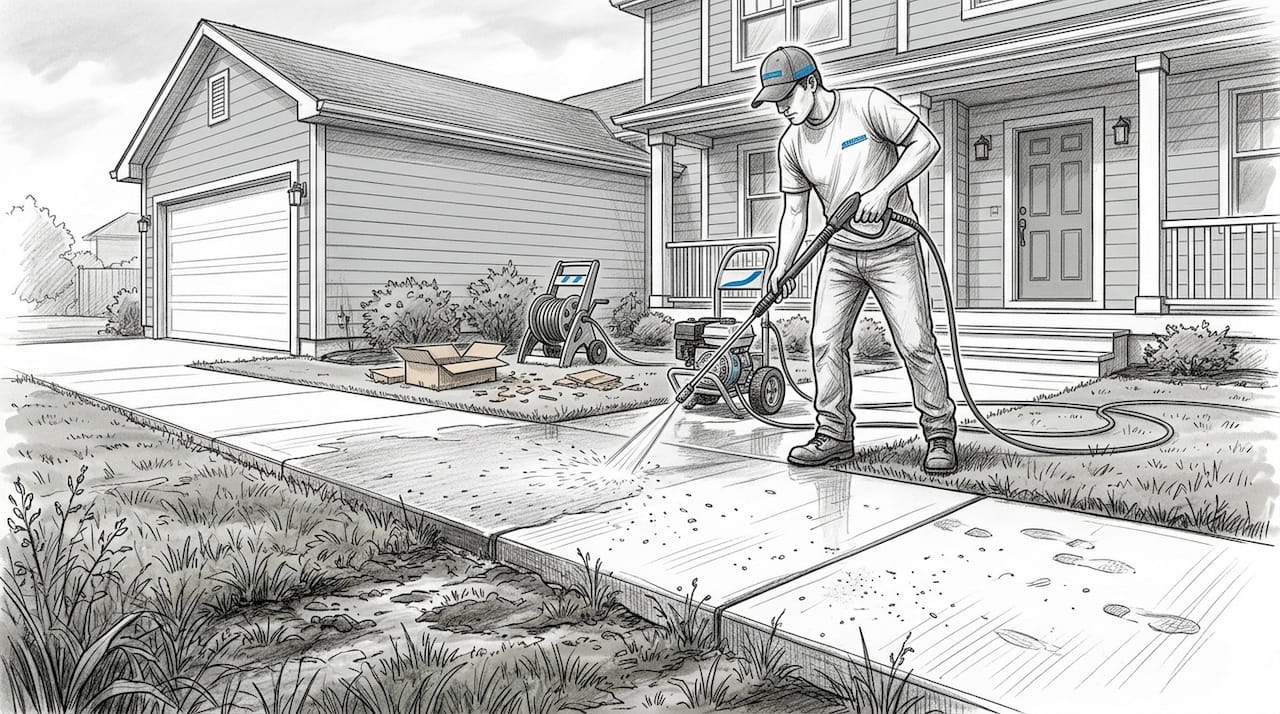
Pressure washing done right. Low-pressure washing is the safest method for concrete surfaces like driveways and sidewalks. High pressure can etch soft concrete, force water into cracks, or damage freshly laid pavers. For brick or stone, adjust pressure based on the material’s porosity. Soft washing (low pressure with a cleaning solution) is often better for painted surfaces and wood trim.
Debris clearance. Walk the entire perimeter before washing anything. Remove nails, scrap lumber, wire, plastic sheeting, and any materials left by subcontractors. These items are both safety hazards and eyesores. Pay attention to landscaping beds, where debris tends to get buried or hidden under mulch.
Here is what the exterior checklist should include:
- Remove all construction debris from driveways, walkways, and landscaping
- Sweep or blow out garage floors and entryways
- Pressure wash driveways, sidewalks, and patios (low pressure for concrete)
- Clean exterior windows and screens (see outside window cleaning guide for technique)
- Wipe down exterior light fixtures and address numbers
- Clear gutters and downspouts of construction debris
- Rinse off exterior walls, soffits, and fascia boards
- Restore landscaping areas disturbed during construction
| Tool | Best use | Caution |
|---|---|---|
| Gas pressure washer | Large driveways, concrete | Too powerful for soft materials |
| Electric pressure washer | Patios, wood decks, siding | Check PSI rating before use |
| Soft wash system | Painted surfaces, stucco | Requires appropriate cleaning solution |
| Leaf blower | Clearing loose debris quickly | Not a substitute for washing |
Pro Tip: After pressure washing, let surfaces dry fully before photographing for your final walkthrough documentation. Wet concrete and pavers look darker and can make clean surfaces appear stained in photos.
For properties being prepared for occupancy, move-in ready cleaning standards apply to both the interior and the exterior. Inspectors and buyers notice the outside first, so treat it with the same rigor as any interior room.
HVAC and air quality checklist: Ducts, filters, and airborne safety
Last, let’s cover an often-missed category: air quality and HVAC cleaning. This is the step most property owners skip, and it is one of the most consequential oversights in post-construction cleaning.
Construction generates enormous quantities of fine particulate matter. Drywall dust, insulation fibers, sawdust, and chemical vapors all circulate through the HVAC system during and after construction. If you turn on the system without cleaning it first, you are essentially using your new HVAC to distribute construction debris throughout every room.
Vacuuming ducts and registers, replacing MERV filters, and running HEPA air scrubbers are the three core steps for post-construction HVAC cleaning. Each one addresses a different layer of the problem.
Here is what your HVAC and air quality checklist should cover:
- Remove and vacuum all supply and return vent covers
- Vacuum accessible duct openings with a HEPA vacuum attachment
- Wipe vent covers with damp microfiber before reinstalling
- Replace all HVAC filters with MERV-rated options (MERV 11 or higher is recommended post-construction)
- Run HEPA air scrubbers in each room for a minimum of two to four hours
- Check and clean the air handler unit’s interior if accessible
- Verify that all duct connections are intact after construction work
- Test the system at all settings before final occupancy sign-off
“Cleaning HVAC ducts and replacing filters after construction is not optional. Fine construction dust recirculated through an uncleaned system can compromise air quality for months after move-in, creating health risks and potential liability for property owners and contractors.”
MERV stands for Minimum Efficiency Reporting Value, a rating scale for air filter performance. A MERV 8 filter is standard for residential use. Post-construction, MERV 11 or 13 filters capture the finer particles that construction generates. After the first 30 days of occupancy, you can step back down to a standard filter once the residual dust has cleared.
For properties in Los Angeles, working with professional HVAC cleaning specialists ensures ducts are properly cleared and the system is certified ready for occupancy. This is especially important for multi-unit buildings where one contaminated HVAC system can affect multiple tenants.
Why attention to detail matters more than speed in post-construction cleaning
Here is the perspective that most cleaning guides will not share: speed is the enemy of quality in post-construction cleaning, and the pressure to finish fast is where most costly mistakes happen.
We have seen it repeatedly. A contractor needs the space handed over by Friday. The cleaning crew rushes through the checklist, skipping duct vacuuming and glossing over bathroom grout. The property looks clean at a glance. Then, two weeks after move-in, the tenant calls about dust coming from the vents and grout that is already discoloring. That is not a cleaning problem anymore. That is a client satisfaction problem, and potentially a legal one.
The real cost of rushed cleaning shows up later, in callbacks, re-cleans, and damaged professional reputations. A thorough checklist executed at the right pace costs more upfront in time, but it eliminates those downstream costs entirely. Detail-oriented cleaning is not perfectionism for its own sake. It is risk management.
Next steps: Professional cleaning services for Los Angeles move-ins
If you are managing a post-construction project in Los Angeles and want to make sure every item on this checklist is handled correctly, professional support makes the difference between a good result and a guaranteed one.
The Maid Society provides post-construction cleaning in Los Angeles with trained, vetted teams who follow structured checklists and use professional-grade equipment. Whether you need a full post-construction clean or targeted move-in cleaning solutions for a property about to be occupied, we handle it with the thoroughness your project deserves. Explore our full range of Los Angeles cleaning services or request a quote today to get your space move-in ready without the stress.
Frequently asked questions
Can I use a regular vacuum for post-construction cleaning?
Regular vacuums often miss fine dust like silica or drywall debris; HEPA-filtered vacuums are recommended for safety and efficiency in post-construction environments.
What are the main health risks if I skip thorough post-construction cleaning?
Skipping cleaning can leave behind hazardous dust and debris, causing respiratory issues. The OSHA PEL for silica is 50 µg/m³ over an eight-hour workday, a threshold easily exceeded in uncleaned construction sites.
How should I clean exterior concrete after construction?
Use low-pressure washing for concrete to remove dust and debris without damaging the surface, as high pressure can etch or crack freshly poured material.
Is it necessary to replace HVAC filters after construction?
Yes. Replacing MERV filters after construction is critical to prevent construction dust from recirculating through the system and compromising indoor air quality for occupants.
How do professional cleaners ensure thorough cleaning?
Professionals use proven checklists and specialized equipment and follow local health and occupancy standards to ensure every surface, duct, and exterior area meets move-in readiness requirements.
Recommended
- Post-construction cleaning: your move-in ready guide
- Post Construction Cleaning Guide for Ready-to-Rent Homes
- Post-Construction Cleaning for Landlords: Ready Units Fast
- Detailed cleaning guide for builders: post-construction success
Get Cleaning Tips & Exclusive Offers
Join our community for time-saving hacks and special discounts delivered to your inbox.