TL;DR:
- Post-construction cleaning requires a systematic, multi-phase approach to ensure safety and thoroughness.
- Professional equipment and expertise are essential for effectively removing hazardous dust and residues.
- A detailed final inspection guarantees the space is move-in ready and free of overlooked debris.
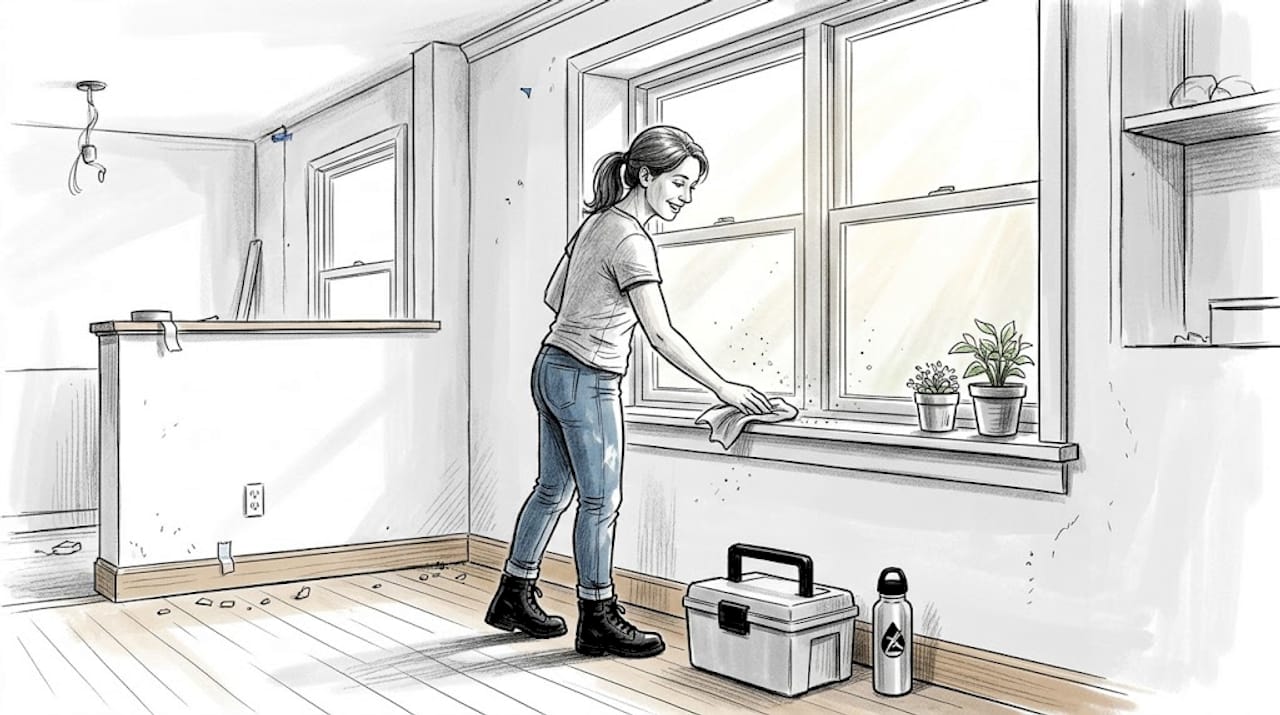
You just wrapped a renovation and your contractor has packed up and left. But walk through the space a day later and you’ll find fine white dust coating every surface, debris tucked behind baseboards, and grit settling into grout lines you just paid to have installed. Post-construction cleaning is a multi-step process that goes far beyond a quick sweep. It’s about removing hazardous particles, protecting your investment, and ensuring the space is genuinely safe to occupy. This guide walks Los Angeles homeowners and property managers through exactly what to do, in the right order, so you get the move-in ready result you expected.
Table of Contents
- Preparing for post-construction cleaning
- Step-by-step cleaning process: what to do and when
- Common mistakes and how to avoid them
- Final inspection and ensuring move-in readiness
- The truth about DIY vs. professional post-construction cleaning
- Get professional post-construction cleaning in Los Angeles
- Frequently asked questions
Key Takeaways
| Point | Details |
|---|---|
| Thorough preparation matters | Setting up with the right tools and safety steps leads to better post-construction cleaning results. |
| Phase-by-phase approach | Breaking down the process into clear steps ensures no debris or dust is overlooked. |
| Avoid common pitfalls | Focusing on detail and safety prevents health risks and unnecessary re-cleaning. |
| Final inspection is critical | A structured walkthrough guarantees your space is truly move-in ready. |
| Know when to call pros | Professional cleaning provides efficiency, superior results, and peace of mind after major work. |
Preparing for post-construction cleaning
Rushing into cleaning without a plan is one of the fastest ways to make more work for yourself. Dust that hasn’t been contained will resettle on surfaces you’ve already wiped down, costing you double the time. Proper preparation and equipment prevent serious health risks from airborne particles and sharp debris left behind after construction. Getting this step right is what separates an efficient clean from a frustrating, all-day ordeal.
Before you touch a single surface, make sure utilities are fully operational. You need running water for rinsing and power for vacuums and lighting. Walk through the space and identify which areas received the most work. Those zones will need the most attention and should be your starting point.
Essential tools and supplies you’ll need:
- Commercial-grade vacuum with HEPA filter (traps fine particles standard vacuums release back into the air)
- Microfiber cloths in multiple colors (to avoid cross-contamination between rooms)
- N95 respirator masks and disposable gloves
- Stiff-bristle brushes for grout and corners
- Gentle, pH-neutral cleaning solution for new surfaces
- Buckets, mop, and extension duster for high surfaces
- Plastic sheeting to protect already-cleaned areas
| Safety measure | Why it matters |
|---|---|
| Ventilate the space | Moves airborne dust out rather than recirculating it |
| Wear N95 mask | Blocks fine silica and drywall particles from your lungs |
| Secure the work zone | Keeps foot traffic out of freshly cleaned areas |
| Use gloves | Protects hands from sharp debris and harsh residues |
| Check power and water | Ensures equipment works safely before you start |
Use the builder cleaning checklist to make sure nothing gets skipped during your prep phase.
“The goal before any cleaning begins is to contain the dust. Open windows, run fans outward, and seal off rooms you’ve already cleaned.”
Pro Tip: Always start your dust removal at ceiling level, working downward. Vents, light fixtures, and high shelves drop debris as you clean them. If you start at floor level, you’ll redo everything.
Step-by-step cleaning process: what to do and when
With your tools ready and safety gear on, it’s time to move through the space systematically. Post-construction cleaning happens in phases: rough cleaning first, light cleaning second, and final detail work last. Skipping phases or combining them leads to missed areas and surfaces that look clean until someone touches them.
The three-phase cleaning process:
- Rough cleaning: Remove large debris by hand or with a broom. This includes leftover materials, broken tiles, wood scraps, and plastic wrap. Bag everything and remove it from the space before vacuuming.
- Vacuum all surfaces: Use your HEPA vacuum on walls, ceilings, window frames, and floors. Work from top to bottom in every room. Don’t skip built-in shelving or closet interiors.
- Light cleaning: Wipe down all hard surfaces with damp microfiber cloths. This includes countertops, window sills, door frames, and cabinet exteriors. Change cloths frequently.
- Detail cleaning: Focus on areas typically missed. Scrub grout lines, clean inside cabinets and drawers, wipe baseboards, and remove construction film from windows.
- Floor cleaning: Vacuum floors again after all overhead work is done, then mop with a suitable solution. For hardwood, use a barely damp mop to avoid warping.
- Final air-out: Run fans and open windows for at least two hours. This clears the last of the airborne particles and lets surfaces fully dry.
The ready-to-rent cleaning process follows this exact sequence for a reason. Each phase builds on the last.
| Area | Rough phase | Light phase | Final detail |
|---|---|---|---|
| Kitchen | Remove debris, bag waste | Wipe counters, appliances | Clean inside cabinets, grout |
| Bathroom | Clear materials, scrub fixtures | Wipe tiles, mirror | Polish fixtures, seal grout |
| Floors | Sweep large debris | Vacuum thoroughly | Mop and dry completely |
| Windows | Remove stickers, film | Wipe frames and sills | Clean glass, check seals |
| Vents/HVAC | Remove covers, vacuum | Wipe covers clean | Replace filters, check flow |
For larger builds, the deep cleaning for builders approach breaks down tasks by trade zone, which is useful if multiple contractors were involved.
Pro Tip: Never clean windows until all overhead work is fully complete. Construction dust from vents or sanding will settle back on glass within minutes if the surrounding work isn’t finished first.
Common mistakes and how to avoid them
Even with the right tools and a solid plan, certain mistakes consistently derail post-construction cleaning efforts. Knowing what they are means you catch them before they cost you time and money. Incomplete dust removal causes lingering health risks and forces expensive re-cleans that nobody wants to schedule.
The most common mistakes homeowners make:
- Skipping HVAC and air vent cleaning: Construction dust infiltrates the entire duct system. Cleaning surfaces while leaving vents dirty means the system will redistribute fine particles every time it runs.
- Using the wrong cleaning products: Harsh chemicals on new surfaces can strip sealants, cloud fresh grout, or damage stainless steel finishes. Always verify product compatibility with your specific materials.
- Rushing the process: Moving too quickly means skipping the second vacuum pass, missing the inside of cabinet doors, or leaving construction adhesive on floors until it hardens permanently.
- Using a standard household vacuum: Regular vacuums pull in fine dust and blow it right back out through their exhaust. This actively makes the air quality worse.
- Cleaning wet surfaces first: Damp drywall dust becomes a paste that sticks hard to surfaces and requires significantly more effort to remove once dry.
- Ignoring baseboards and corners: These spots collect the densest concentration of dust and are almost always the first areas inspectors notice.
“Airborne silica and drywall particles can irritate the lungs for weeks after construction ends. Don’t underestimate the importance of removing them completely before occupying any space.”
The renovation cleanup tips from our team go deeper on product selection and material-specific techniques. For a broader overview of what the process should cover, the post-construction cleaning guide is a strong reference.
Pro Tip: Use only HEPA-filter vacuums throughout the entire process. A true HEPA filter captures 99.97% of particles at 0.3 microns, which covers the fine drywall and silica dust most dangerous to respiratory health.
Final inspection and ensuring move-in readiness
Once the hands-on cleaning is done, the last essential step is making sure nothing was missed before someone moves in or the property is handed over. A structured inspection prevents callbacks and catches hazards that are easy to overlook when you’ve been in the space for hours.

Do your walkthrough in natural daylight when possible. Artificial lighting misses a lot. Use a flashlight at low angles to spot dust on flat surfaces that looks clean under overhead lights. Pay close attention to the following:
Inspection checklist:
- All vents cleaned and filters replaced
- Windows free of film, fingerprints, and construction adhesive
- Cabinet interiors wiped, hardware polished
- Baseboards fully dust-free and undamaged
- Grout lines clean and sealed where required
- Floors free of debris, adhesive residue, and streaks
- Fixtures and hardware polished and functional
- All surfaces dry with no moisture trapped behind new installations
| Area inspected | Standard met? | Notes |
|---|---|---|
| Kitchen counters and cabinets | Yes / No | Check corners and undersides |
| Bathroom tiles and grout | Yes / No | Look for haze or residue |
| All flooring surfaces | Yes / No | Inspect edges and under fixtures |
| Windows and sliding doors | Yes / No | Check tracks and frames |
| HVAC vents and returns | Yes / No | Confirm airflow is clear |
| Baseboards and door frames | Yes / No | Run finger test for dust |
Document everything with photos once the inspection is complete. This protects both homeowners and property managers if disputes arise later. Use the landlord cleaning checklist to ensure your documentation covers every required area before tenant move-in.
If anything fails the inspection, don’t just spot-clean. Re-do the entire phase that corresponds to the missed area. Spot-cleaning post-construction rarely achieves consistent results across a surface.
The truth about DIY vs. professional post-construction cleaning
Here’s something most guides won’t tell you: the vast majority of homeowners significantly underestimate what post-construction cleaning actually involves until they’re four hours in and still not done with one room. It’s not a reflection of effort. It’s a reflection of scope.
Construction dust behaves differently from household dust. It’s finer, heavier in volume, and embeds itself into surfaces that look perfectly clean from a distance. Professional cleaners use specialized methods and industrial-grade equipment that simply aren’t accessible to most homeowners. A HEPA-rated commercial vacuum, for example, operates at a suction level and filtration standard that no consumer product matches.
Beyond equipment, experienced crews bring pattern recognition. They know exactly where construction residue hides and what it looks like in its early stages before it becomes a problem. That institutional knowledge is the real value of the importance of hiring professionals for larger or heavily renovated spaces.
This doesn’t mean DIY is never appropriate. For minor touch-up work after a small project, a careful homeowner with the right tools can absolutely handle it. But for full renovations, new builds, or any space that needs to be genuinely move-in ready within a tight timeline, professional help isn’t a luxury. It’s a practical decision that prevents re-cleans, protects new materials, and saves you from a second round of scheduling headaches.
Get professional post-construction cleaning in Los Angeles
If you’ve read through this guide and realized the scope is larger than you want to manage alone, you’re not wrong to feel that way. Post-construction cleaning is genuinely demanding work, and getting it right the first time saves significant time and cost.
The Maid Society specializes in Los Angeles post-construction cleaning for homeowners and property managers who need results they can trust. Our team uses the same builder deep cleaning process detailed in this guide, with industrial equipment and trained crews who know exactly what move-in ready means. Whether you’re preparing a unit for new tenants or finishing a personal renovation, we handle it completely. You can also explore our move-out cleaning steps if your project involves a property transition. Reach out for a quote and get your space spotless without the stress.
Frequently asked questions
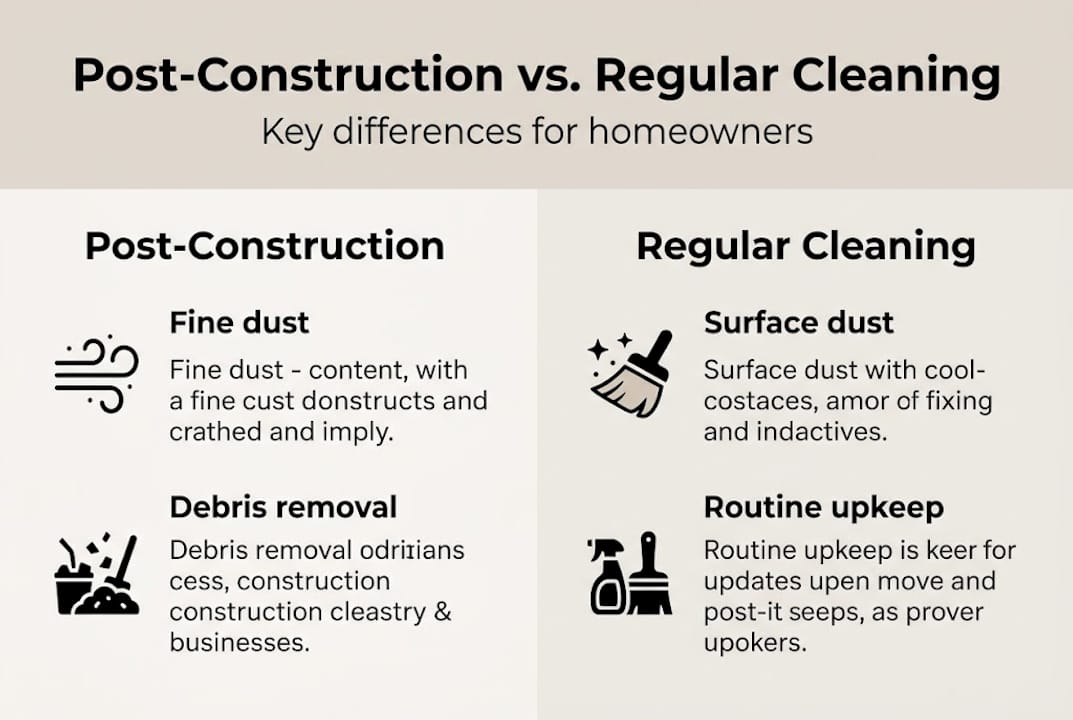
What makes post-construction cleaning different from regular cleaning?
It involves removing fine dust, hazardous debris, and construction residues that standard cleaning doesn’t address. The tools, methods, and sequence required are entirely different from routine housekeeping.
How long does post-construction cleaning take?
A full clean can take from several hours to a full day, since process time varies significantly based on the home’s size and how extensive the renovation was.
Do I need to schedule professional cleaning after every renovation?
If dust, debris, or heavy residues are present, pro-level cleaning is essential to confirm every area is safe and genuinely ready for occupancy.
What supplies are essential for post-construction cleaning?
You need HEPA-filter vacuums, microfiber cloths, N95 masks, disposable gloves, and pH-neutral cleaners. Proper supplies are critical for both safety and effective results on new surfaces.
Recommended
- Post Construction Cleaning Guide for Ready-to-Rent Homes
- Post-Construction Cleaning for Landlords: Ready Units Fast
- Detailed cleaning guide for builders: post-construction success
- Move In Cleaning Explained: Ensuring a Fresh Start
- Smart Cleaning Service™ House Cleaning Seattle Kirkland Bellevue Redmond
Get Cleaning Tips & Exclusive Offers
Join our community for time-saving hacks and special discounts delivered to your inbox.