TL;DR:
- Pet-safe cleaning products include hypochlorous acid, enzymatic cleaners, baking soda, vinegar, and castile soap.
- Consistent routines like brushing pets, removing food bowls, and ventilating reduce need for reactive cleaning.
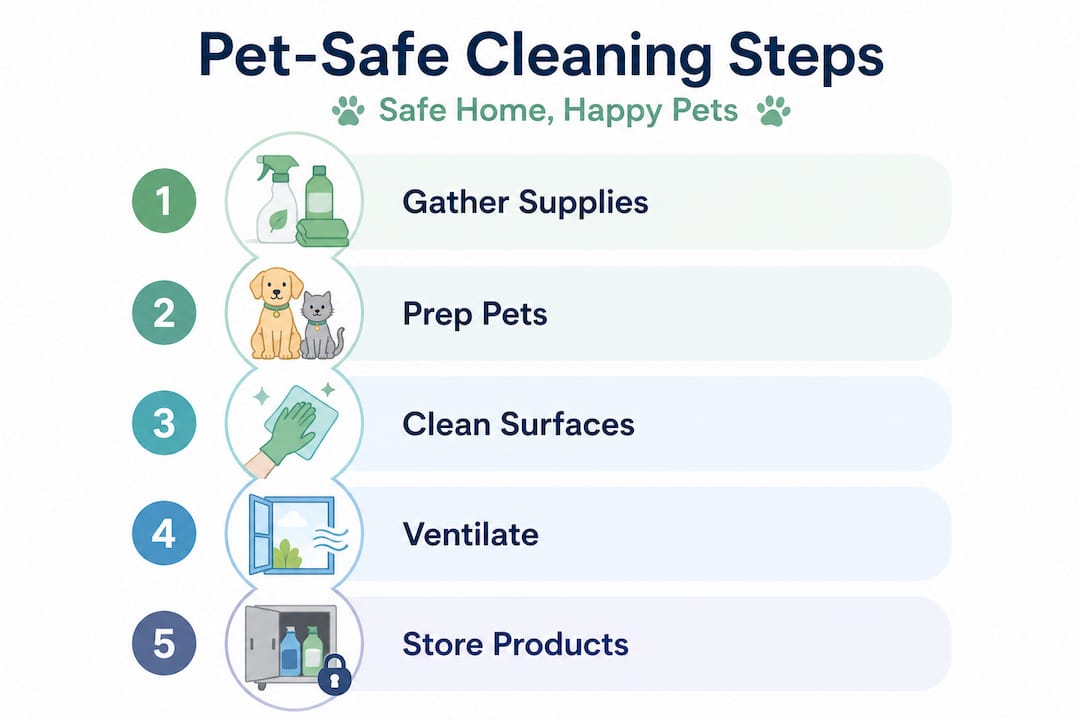
- Proper preparation and following a structured workflow ensure a safe, effective, and long-lasting clean home.
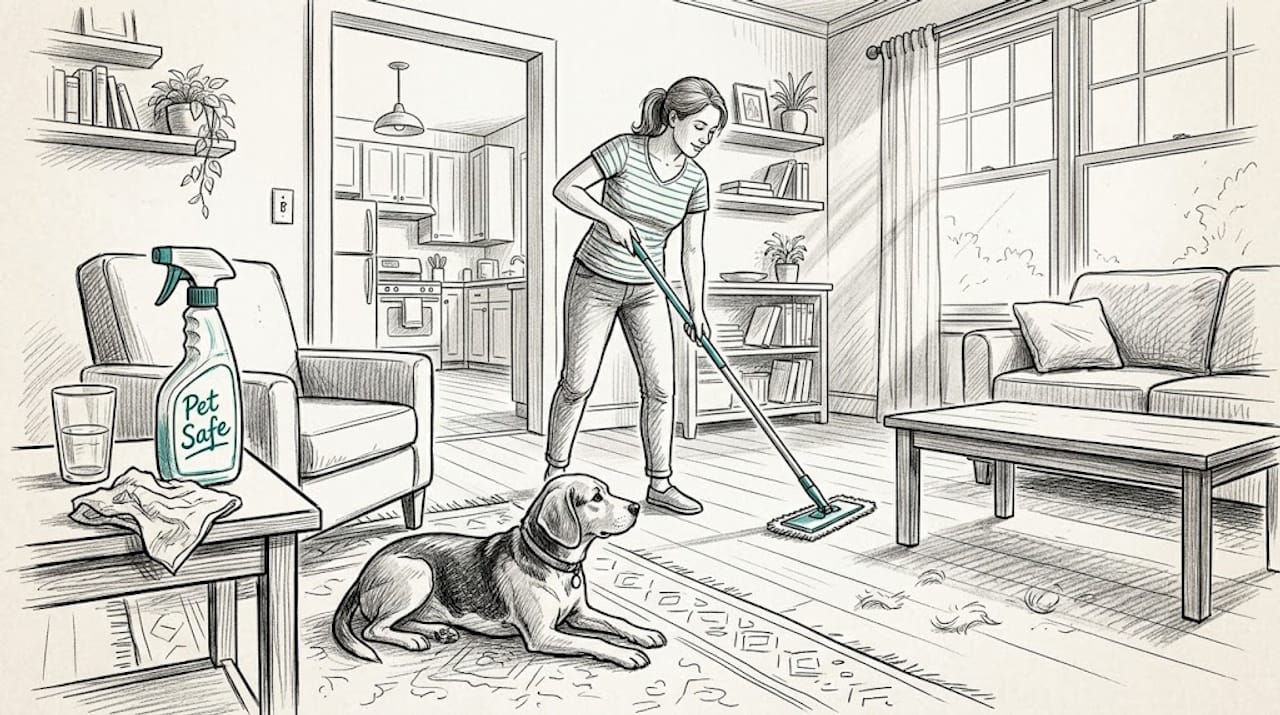
Keeping a Los Angeles home genuinely clean while protecting your pets is harder than it sounds. The products sitting under most kitchen sinks, including popular disinfectants, floor cleaners, and even some “natural” sprays, can expose cats and dogs to compounds that irritate airways, damage livers, or worse. Good intentions are not enough. What actually works is a structured workflow built around pet-safe products, smart preparation, and habits you repeat consistently. This guide lays out exactly that, step by step, so your home stays fresh without putting your animals at risk.
Table of Contents
- Pet-safe cleaning: What you need before you start
- Preparation steps: Minimize mess and hazard before you clean
- Core cleaning workflow: The safe, science-backed steps
- Troubleshooting and common mistakes: How to fix or avoid issues
- How to know it worked: Verifying a safe, clean result
- Why strict routines matter more than magic sprays for pet homes
- Get professional help with your pet-friendly home in LA
- Frequently asked questions
Key Takeaways
| Point | Details |
|---|---|
| Pet-safe supplies | Choose only non-toxic cleaners and the right tools to protect your pets’ health. |
| Prevent before you clean | Reduce dirt and allergens with simple daily steps like brushing and wiping paws. |
| Follow proven workflow | Sequential cleaning with HEPA vacuums and scrubbing methods keeps homes truly safe and clean. |
| Check your results | Review your finished work for hidden hazards and make continuous improvements for lasting cleanliness. |
| Seek expert help | If in doubt, professional pet-safe cleaners can ensure a spotless and safe home environment. |
Pet-safe cleaning: What you need before you start
Having established why pet-safe cleaning matters, let’s start by organizing everything you need for a safe and efficient workflow.
Before you touch a single surface, knowing what goes into your cleaning kit makes or breaks the whole process. Pet-friendly cleaning prioritizes non-toxic products like hypochlorous acid, enzymatic cleaners, baking soda, vinegar, and castile soap, while avoiding bleach, ammonia, phenols, and essential oils, especially for cats. That last point surprises many pet owners. Tea tree oil, eucalyptus, and lavender, all marketed as “natural,” are genuinely toxic to cats and can cause tremors, drooling, and liver damage.
Here is a quick comparison of common cleaning agents and their pet safety status:
| Cleaning agent | Pet safe? | Best use |
|---|---|---|
| Hypochlorous acid | Yes | Disinfecting surfaces, pet areas |
| Enzymatic cleaner | Yes | Urine, vomit, odor removal |
| Baking soda | Yes | Deodorizing, light scrubbing |
| White vinegar | Yes (diluted) | Glass, counters, general grime |
| Castile soap | Yes | Floors, bowls, general cleaning |
| Bleach | No | Avoid entirely |
| Ammonia | No | Avoid entirely |
| Phenol-based cleaners | No | Avoid entirely |
| Essential oil sprays | No | Avoid, especially with cats |
Your equipment list matters just as much as your products. A HEPA-filter vacuum is non-negotiable for pet homes. You will also want scrubbing brushes in multiple sizes, microfiber cloths, a mop with a removable washable head, spray bottles for diluted solutions, and a dedicated set of gloves. Check out essential cleaning equipment recommendations to make sure nothing critical is missing from your kit.
Essential supplies checklist:
- HEPA vacuum with pet attachment
- Enzymatic cleaner (store-bought or homemade with enzyme concentrate)
- Hypochlorous acid spray
- Baking soda and white vinegar
- Castile soap (unscented)
- Microfiber cloths (separate sets for kitchen, bathroom, and pet areas)
- Scrubbing brushes (stiff for floors, soft for bowls)
- Washable mop head
- Spray bottles labeled clearly
- Disposable gloves
Store all cleaning products in locked or latched cabinets, away from pet reach. Even pet-safe products can cause stomach upset if ingested in quantity. If you share outdoor spaces with neighbors, consider pet-safe pest control options that won’t drift indoors on paws or fur.
Pro Tip: Buy two sets of spray bottles and label one “pet zones” and one “general.” This prevents cross-contamination and makes it easy to grab the right product fast.
For more ideas on keeping your cleaning routine green and family-friendly, the eco-friendly cleaning tips resource is worth bookmarking.
Preparation steps: Minimize mess and hazard before you clean
Once your supplies are in order, focus on prepping the environment and your pets to make cleaning safe, quick, and effective.
Preparation is where most pet owners lose time and effectiveness. Skipping it means you are cleaning on top of problems rather than removing them. Daily brushing reduces shedding 50 to 80%, a no-shoes policy cuts tracked dirt by 70%, and ventilating after cleaning disperses residual vapors that could irritate your pet’s respiratory system. These are not small wins. They fundamentally change how much work each cleaning session requires.
Follow these steps every time before you start cleaning:
- Brush your pets in a designated spot (outside or in the laundry room) to remove loose fur before it settles on furniture and floors.
- Enforce the no-shoes rule at every entry point. Place a shoe rack just outside or inside the front door.
- Wipe paws after every outdoor trip using unscented, pet-safe paw wipes. Los Angeles sidewalks carry pesticides, fertilizers, and urban grime.
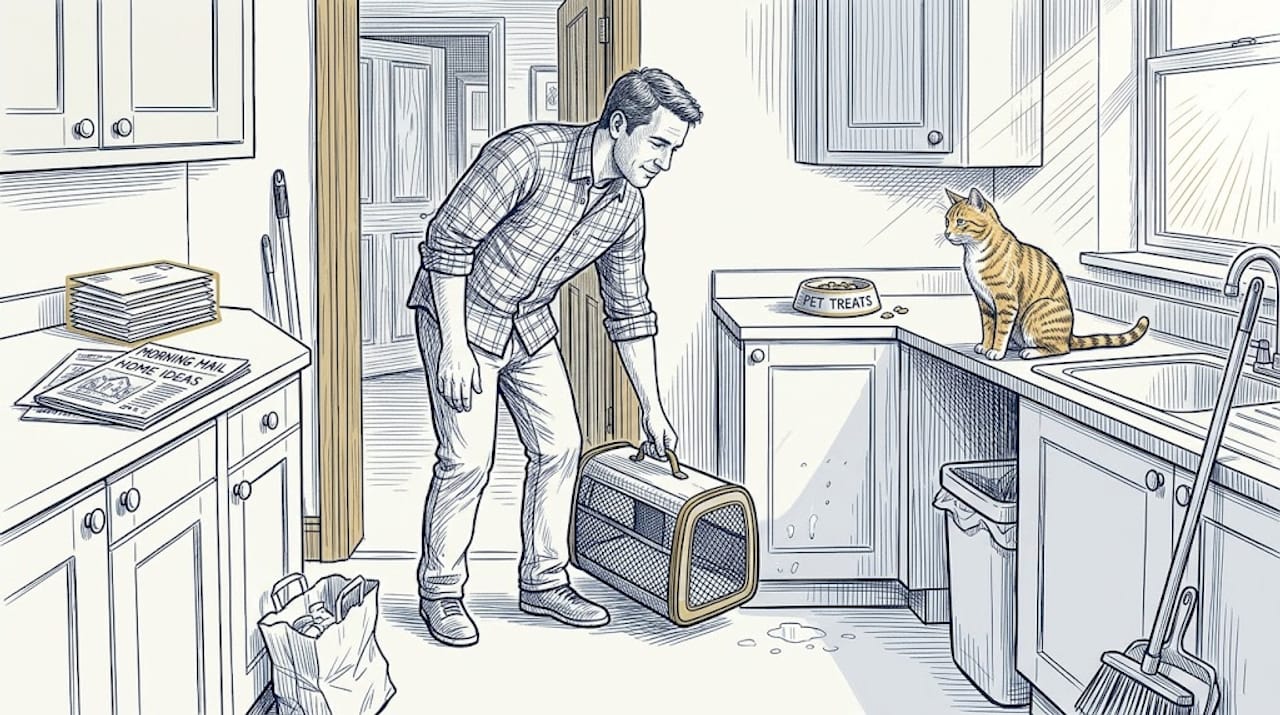
- Remove all food and water bowls from the kitchen before you clean counters and floors. Set them in a safe spot and wash them separately.
- Move pets to a safe room that is not being cleaned. Close the door and make sure they have water, a toy, and a comfortable spot.
- Open windows in the rooms you plan to clean. Cross-ventilation helps vapors clear faster, even with pet-safe products.
“The single most effective thing a pet owner can do is build prevention into the daily routine. Reactive cleaning after a mess is always harder, more expensive, and less thorough than consistent, proactive habits.”
These stress-reducing routines pay off over weeks and months. You will notice less visible fur, fewer odor complaints from guests, and a lighter workload each time you clean. Understanding why regular cleaning matters for both health and stress levels gives you the motivation to stick with these habits even on busy days.
Pro Tip: Keep a small basket near every door with paw wipes, a lint roller, and a brush. The lower the friction, the more likely you are to actually use them every single day.
Core cleaning workflow: The safe, science-backed steps
With the prep completed, you’re ready for the main cleaning sequence. Here’s how to do it safely, efficiently, and thoroughly.
Order matters in cleaning. Going out of sequence means you push dirt onto surfaces you already cleaned, or you trap allergens instead of removing them. Here is the correct sequence for a pet home:
- Vacuum all surfaces including floors, upholstered furniture, and pet beds using a HEPA vacuum. HEPA vacuums trap 99.97% of particles as small as 0.3 microns, which covers pet dander, dust mite debris, and fine particulates that trigger allergies.
- Dust from top to bottom. Start with ceiling fans, shelves, and light fixtures, then work down to baseboards. Use a damp microfiber cloth so particles do not just float back into the air.
- Scrub hard floors with a stiff brush and a diluted castile soap solution. Research confirms that scrubbing brushes with detergent outperform microfiber mops for bacterial reduction on hard floors, because the mechanical action physically breaks up biofilm that mopping simply spreads around.
- Apply enzymatic cleaner to any areas with pet urine, vomit, or fecal residue. Let it sit for the full dwell time listed on the label, usually 5 to 10 minutes. Enzymatic cleaners break down organic matter at the molecular level, eliminating odor at the source rather than masking it.
- Disinfect high-contact pet zones with hypochlorous acid spray. Hypochlorous acid is 80 times stronger than bleach yet is FDA-approved and non-toxic for pets when used correctly. Spray, let it sit for 60 seconds, then wipe or allow to air dry.
- Wash pet beds and fabric items on the hottest safe cycle with an unscented, pet-safe detergent. Do this at least weekly.
- Ventilate for 20 to 30 minutes after finishing. Open windows and run ceiling fans before letting pets back in.
Here is how the two most common disinfection options compare for pet homes:
| Method | Effectiveness | Pet safety | Dwell time | Best for |
|---|---|---|---|---|
| Hypochlorous acid | Very high | Safe when dry | 60 seconds | Surfaces, pet zones |
| Enzymatic cleaner | High (organics) | Safe | 5 to 10 minutes | Urine, odor, stains |
| Diluted vinegar | Moderate | Safe | 2 to 5 minutes | General surfaces |
| Castile soap solution | Moderate | Safe | Immediate | Floors, bowls |
For a detailed walkthrough of natural product combinations, the step-by-step natural cleaning guide covers each room in practical detail. If you share your outdoor space with other animals or face pest pressure common in LA, pet-safe pest solutions can help you extend your safe-cleaning approach beyond the interior.
Stat to remember: Consistent vacuuming with a HEPA unit can reduce airborne pet allergens by up to 68%, dropping fine particle counts from 18 to 8 µg/m³ and cutting respiratory incidents by roughly 30%.
Troubleshooting and common mistakes: How to fix or avoid issues
Even the best routine meets snags. Here’s what to watch for and how to correct common pitfalls along the way.
Most pet-home cleaning failures come down to a handful of repeating mistakes. Recognizing them early saves you time, money, and potential harm to your animals.
Common mistakes to avoid:
- Using conventional disinfectants labeled “pet safe” without checking for phenols or quaternary ammonium compounds, both of which are harmful to cats
- Skipping ventilation and letting pets back into damp rooms too soon
- Rushing the drying time on floors and letting dogs walk through wet product
- Forgetting high-touch pet spots like door frames at nose height, the base of the couch, and around food bowl areas
- Using the same mop head across the kitchen and the bathroom without washing it in between
“Natural DIY options like vinegar and baking soda work well for routine maintenance, but they do not disinfect. For genuine germ reduction, look for EPA Safer Choice certified products or hypochlorous acid, and always exclude pets during wet cleaning.”
If a cleaning mistake does happen and your pet is exposed to a product, act quickly. Rinse the affected area (skin, paws, or mouth) with plain water for several minutes. Call your vet or the ASPCA Animal Poison Control hotline immediately if your pet shows symptoms like drooling, vomiting, trembling, or lethargy.
Knowing when to call a professional is also part of a smart routine. Deep-set odors, post-renovation dust, or move-in situations often require equipment and expertise beyond what a standard DIY kit can handle. The DIY vs. professional cleaning breakdown can help you decide when it is worth bringing in a trained team.
Pro Tip: After every cleaning session, spend two minutes writing down one thing that did not go well. Over a month, patterns emerge and you can fix the root cause instead of repeating the same mistake.
How to know it worked: Verifying a safe, clean result
Once cleaning is done, take an extra minute to assure both safety and results have truly met the goal.
Finishing the workflow is not the same as confirming it worked. A quick verification step closes the loop and tells you where to improve next time.
Signs your cleaning was successful:
- Noticeably less visible fur on furniture and floors within 24 hours
- No lingering pet odor after 30 minutes of ventilation
- Pets show no signs of irritation (sneezing, eye watering, excessive licking of paws)
- Food and water bowls are visibly clean with no film or residue
- Hard floors feel clean underfoot, not sticky or filmy
Signs something was missed:
- Odor returns within a day (enzymatic cleaner may not have had full dwell time)
- Pets avoid a specific area (possible chemical residue)
- Visible fur reappears quickly in the same spots (missed a fur accumulation zone)
- Allergy symptoms persist in household members
Here is a simple verification table to run through after each session:
| Check | Pass condition | Action if failed |
|---|---|---|
| Air quality | No chemical smell after 30 min ventilation | Re-ventilate, check product used |
| Pet behavior | Normal, no avoidance or licking | Rinse surfaces with plain water |
| Floor feel | Dry, clean, no residue | Re-mop with clean water rinse |
| Pet bowls | No film, no odor | Re-wash with hot water and castile soap |
| Fur load | Minimal visible fur | Vacuum again, check brush schedule |
Robot vacuums reduced allergens 68% in one documented case study, dropping PM2.5 readings from 18 to 8 µg/m³ and cutting respiratory incidents by about 30%. Adding a robot vacuum to run between sessions is an easy way to maintain those numbers. Also worth noting: pet bowls harbor more germs than most kitchen surfaces, so daily bowl washing is not optional.
Reviewing your results consistently is itself a habit. The eco-friendly cleaning practices framework offers a useful structure for building that review into your regular routine.
Why strict routines matter more than magic sprays for pet homes
Here is the perspective that most cleaning content skips entirely: no single product, no matter how expensive or cleverly marketed, can substitute for a consistent, repeatable workflow. We see this constantly in Los Angeles homes. A pet owner spends $40 on a branded “pet odor eliminator,” sprays it on the couch, and wonders why the smell is back in three days. The product was not the problem. The missing routine was.
Real pet-home cleanliness is built on small daily actions, not monthly deep cleans. Brushing your dog before fur hits the floor. Wiping paws before dirt gets tracked through the kitchen. Removing bowls before mopping. Letting rooms dry before pets re-enter. None of these steps are complicated. Together, they reduce the total contamination load so dramatically that your actual cleaning sessions become faster and more effective.
The “all-in-one” product trap is real. Manufacturers know that busy pet owners want a single spray that cleans, deodorizes, and disinfects simultaneously. But those products almost always compromise on at least one function, and they often contain fragrance compounds that mask odors rather than eliminate them. Your nose thinks the problem is solved. The bacteria and allergens are still there.
Long-term pet and home health comes from habits, not chemicals. The efficient family cleaning routines approach we recommend to clients focuses on building 5-minute daily habits that prevent the problems requiring 2-hour reactive sessions. Prevention is always cheaper, safer, and more effective than remediation.
Get professional help with your pet-friendly home in LA
If you want results without the headache, or need a team trained in pet-friendly protocols, here’s where to get help.
Building and maintaining a pet-safe cleaning routine takes real commitment, and sometimes life in Los Angeles simply does not leave room for it. Whether you need a one-time deep clean to reset your home, or ongoing support to keep pet allergens and odors under control, a professional team can handle it properly.
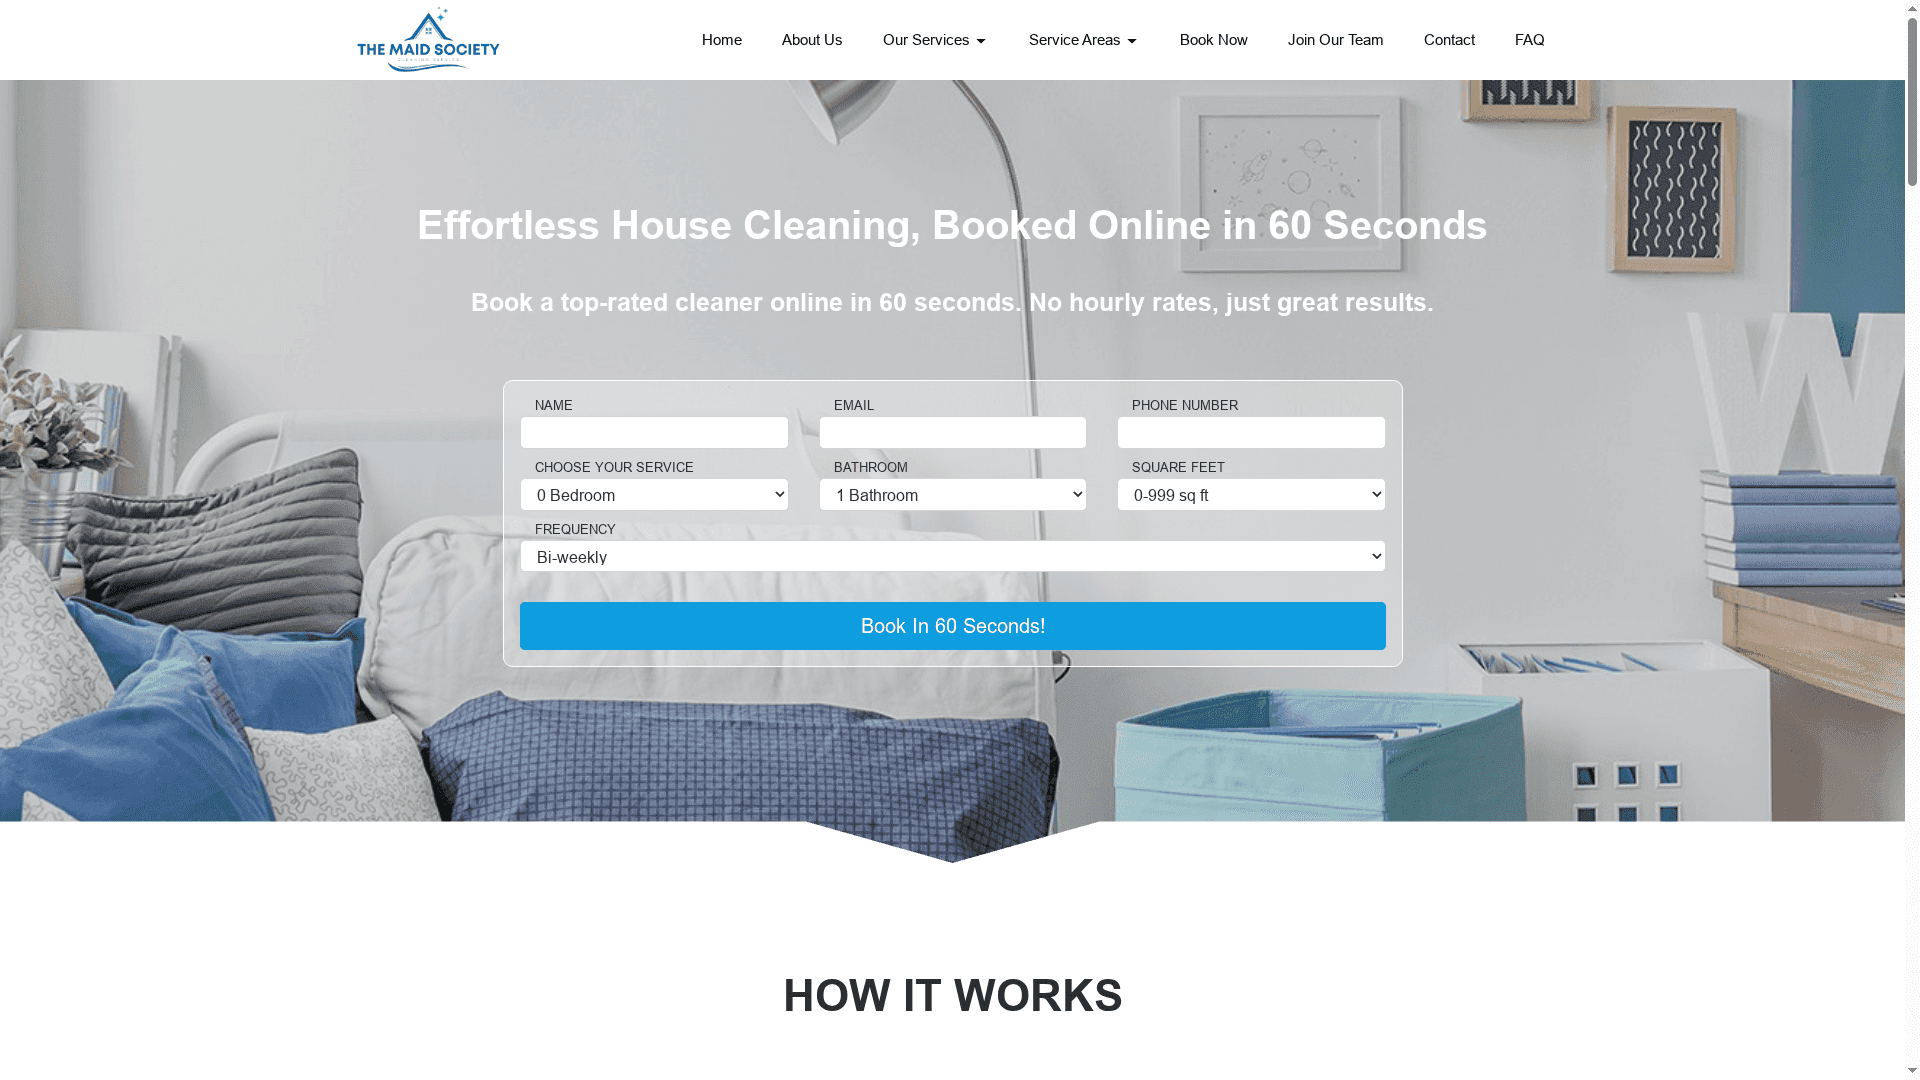
The Maid Society specializes in residential cleaning for LA pet owners who want a genuinely clean home without compromising their animals’ safety. Our team uses vetted, pet-friendly products and follows structured workflows designed to reduce allergens, eliminate odors, and protect your household. Explore our full range of pet-friendly cleaning services or book a targeted move-in cleaning for LA homes if you are starting fresh in a new space. We handle the details so you can spend more time with your pets and less time worrying about what’s on the floor.
Frequently asked questions
What are the safest cleaning agents for homes with pets?
Hypochlorous acid, enzymatic cleaners, baking soda, vinegar, and castile soap are the safest options. Always avoid bleach, ammonia, phenols, and essential oils, which can be toxic especially to cats.
Should pets be removed from rooms during cleaning?
Yes, always keep pets out of any room being cleaned and wait until all surfaces are completely dry and the area is fully ventilated. The AKC stresses pet exclusion during wet cleaning as a non-negotiable safety step.
How can I reduce shedding and tracked dirt?
Daily brushing cuts shedding 50 to 80%, while a consistent no-shoes policy combined with paw wipes at every entry reduces tracked-in dirt by up to 70%.
What’s the best way to clean pet food and water bowls?
Wash bowls daily with hot water and an unscented, pet-safe detergent. Pet bowls harbor more germs than most kitchen surfaces, making daily washing a genuine health priority, not just a tidiness habit.
Recommended
- How to Clean Busy Home Naturally: A Step-by-Step Guide
- Efficient Living Room Cleaning Guide for Busy Professionals
- Eco-Friendly Cleaning: Healthier Homes, Safer Families
- 7 Eco-Friendly Cleaning Tips for Healthy LA Family Homes
Get Cleaning Tips & Exclusive Offers
Join our community for time-saving hacks and special discounts delivered to your inbox.