Renovation dust and debris can linger long after construction crews leave, turning your dream project into a cleaning challenge. Tackling post-renovation mess efficiently is crucial for Los Angeles homeowners who want to reclaim a healthy, organized home. By focusing on a comprehensive cleanup strategy and using the right techniques for debris, dust, and surface care, you can create a spotless and safe living environment that truly feels new.
Table of Contents
- Step 1: Prepare Your Space for Efficient Cleanup
- Step 2: Remove Large Debris and Leftover Materials
- Step 3: Tackle Dust on All Surfaces and Air Vents
- Step 4: Deep Clean Floors, Fixtures, and Appliances
- Step 5: Conduct a Final Inspection for Missed Spots
Quick Summary
| Core Insight | Explanation |
|---|---|
| 1. Develop a Comprehensive Cleanup Strategy | Organize the cleanup process into stages to enhance efficiency and manage the post-renovation mess effectively. |
| 2. Remove Large Debris Safely | Sort and collect construction waste responsibly, using protective gear and proper containers to ensure safe disposal and minimal environmental impact. |
| 3. Systematically Control Dust | Clean surfaces methodically, focusing on high areas first, and utilize appropriate tools to trap dust rather than spread it. |
| 4. Deep Clean Surfaces Thoroughly | Address all floors, fixtures, and appliances with specialized cleaning techniques to restore cleanliness and protect finishes. |
| 5. Conduct a Detailed Final Inspection | Perform a meticulous walkthrough to identify overlooked areas and ensure no dust or debris remains, enhancing the overall cleanliness of the space. |
Step 1: Prepare Your Space for Efficient Cleanup
Renovation cleanup requires strategic preparation to transform your newly transformed space into a spotless sanctuary. Your goal is to establish a systematic approach that tackles post-construction mess efficiently and comprehensively.
Begin by creating a comprehensive cleanup strategy that breaks down the process into manageable stages. Efficient home cleaning starts with thorough preparation and organization. Key steps include:
- Clear out debris and construction materials
- Gather specialized cleaning supplies
- Protect remaining surfaces from potential damage
- Sort items for cleaning or disposal
Your renovation cleanup toolkit should include essential items like heavy-duty trash bags, protective gloves, microfiber cloths, multiple cleaning solutions, and extension tools for reaching difficult areas. Focus on preventing germ spread by selecting appropriate cleaning agents for different surfaces.
Here’s a summary of key cleaning tool functions and their benefits for post-renovation cleanup:
| Cleaning Tool | Main Function | Benefit to Cleanup |
|---|---|---|
| Heavy-duty trash bags | Secure debris transport | Prevents spills, simplifies disposal |
| Microfiber cloths | Traps fine dust and particles | Reduces airborne dust, protects surfaces |
| Extension dusters | Reach high surfaces | Ensures thorough dust removal in difficult spots |
| pH-balanced cleaner | Gentle cleaning solutions | Maintains finishes, avoids damage |
| Protective gloves | Safeguards hands from hazards | Reduces injury and chemical exposure |
Organize your workspace methodically by working top-down in each room. Start with ceiling and high surfaces, then progressively move to walls, fixtures, and finally floors. This systematic approach prevents re-contaminating cleaned areas and ensures maximum efficiency.
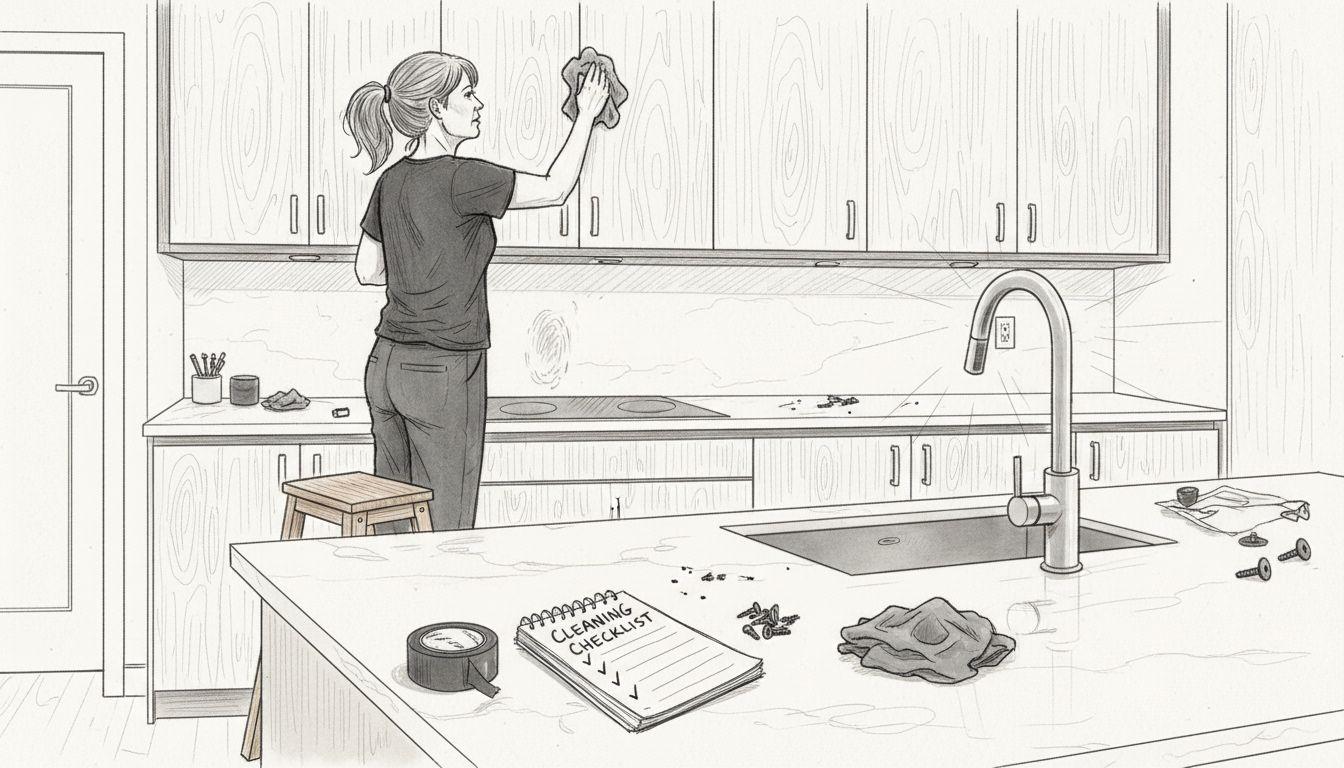
Pro tip: Create a cleanup checklist beforehand to track your progress and ensure no areas are accidentally overlooked during the renovation cleanup process.
Step 2: Remove Large Debris and Leftover Materials
Tackling large debris and leftover materials is a critical phase in post-renovation cleanup that requires strategic planning and careful execution. Your mission is to efficiently clear out construction waste while minimizing environmental impact and preparing your space for deeper cleaning.
Construction waste management involves systematic sorting and responsible disposal of renovation remnants. Start by identifying and categorizing different types of debris:
- Concrete and brick fragments
- Wood scraps and lumber pieces
- Metal offcuts and hardware
- Packaging materials and plastic waste
- Excess drywall and insulation
Prioritize safe removal techniques that protect your property and personal safety. Wear protective gear like work gloves, safety glasses, and dust masks to prevent potential injuries. Use sturdy containers or heavy-duty trash bags for collecting different material types, enabling easier sustainable debris management.
Efficient debris removal isn’t just about cleaning – it’s about responsible waste handling that supports environmental sustainability.
Organize your debris removal systematically by working in sections. Start with larger items, then progress to smaller fragments. Consider renting a dumpster for significant renovation projects or arranging specialized waste removal services for complex materials like hazardous construction waste.
Compare removal and disposal solutions based on project size and environmental impact:
| Option | Best For | Sustainability Impact |
|---|---|---|
| Standard trash bags | Smaller renovations | Minimal – can be landfill waste |
| Rented dumpsters | Large-scale projects | Bulk waste, moderate recycling possible |
| Specialized waste service | Hazardous materials | High – ensures safe, eco-friendly disposal |
| DIY recycling | Sorted debris | Maximum landfill reduction, conserves resources |
Pro tip: Separate recyclable materials during debris removal to reduce landfill waste and potentially offset some renovation disposal costs.
Step 3: Tackle Dust on All Surfaces and Air Vents
Dust management is a critical challenge after any renovation, demanding a strategic and thorough approach to restore your home’s cleanliness and air quality. Your goal is to eliminate fine particles from every surface and prevent dust from recirculating through your living spaces.
Start by controlling airborne dust particles using systematic cleaning techniques. Focus on these key areas:
- Walls and ceiling surfaces
- Window sills and frames
- Baseboards and trim
- Light fixtures and ceiling fans
- Air vents and return registers
Use specialized tools for comprehensive dust removal. Microfiber cloths work best for trapping fine particles, while extension dusters help reach high and difficult areas. Avoid using standard feather dusters which merely scatter dust instead of capturing it.
Effective dust control transforms your post-renovation space from chaotic to pristine.
For air vents, employ a methodical approach to optimize ventilation and dust removal. Remove vent covers carefully, vacuum interior passages, and wipe down surfaces with slightly damp microfiber cloths. Replace HVAC filters to prevent recirculation of construction dust.
Pro tip: Run air purifiers with HEPA filters for 24-48 hours after cleaning to capture remaining microscopic dust particles and improve overall air quality.
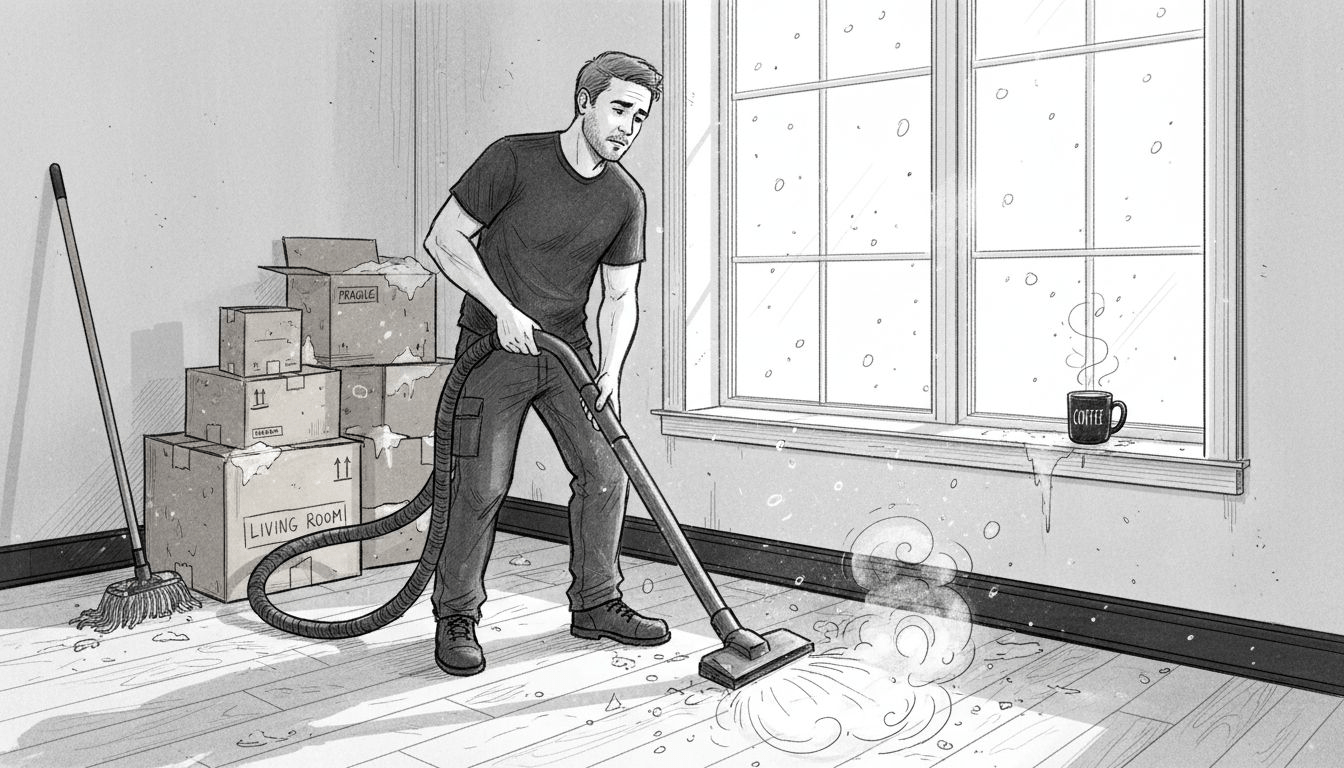
Step 4: Deep Clean Floors, Fixtures, and Appliances
Post-renovation cleanup demands meticulous attention to floors, fixtures, and appliances to restore your space to pristine condition. Your comprehensive cleaning strategy will transform surfaces from construction-dusty to sparkling clean.
Wood floor maintenance requires specialized techniques to protect delicate surfaces. Follow these essential cleaning guidelines:
- Use pH-balanced wood floor cleaners
- Apply microfiber cloths for gentle cleaning
- Sweep and mop with minimal liquid
- Spot clean spills immediately
- Protect floor finishes during cleaning
Systematic cleaning approach involves tackling different surface types strategically. For hardwood, tile, and laminate floors, start with dry cleaning methods like vacuuming with soft brush attachments. Avoid saturating surfaces with excessive moisture that could cause damage.
Thorough cleaning transforms renovation chaos into a pristine living environment.
Focus on cleaning and disinfecting appliances with targeted techniques. Pay special attention to kitchen and bathroom fixtures, using appropriate cleaning solutions for each surface type. Move and clean underneath appliances to remove hidden debris and dust accumulation.
Pro tip: Create a color-coded microfiber cloth system to prevent cross-contamination between different surface types and cleaning areas.

Step 5: Conduct a Final Inspection for Missed Spots
The final inspection is your critical quality control moment, transforming your renovation cleanup from good to exceptional. Your meticulous walkthrough will ensure no dust bunny, smudge, or missed corner escapes your scrutiny.
Construction renovation checklists provide a systematic approach to identifying overlooked areas. Develop a strategic inspection process by:
- Checking each room systematically
- Using natural and artificial lighting
- Examining surfaces from multiple angles
- Testing surfaces with white cloth for hidden dust
- Documenting any remaining imperfections
Lighting is your greatest ally in detecting missed spots. Open all window coverings and turn on overhead and task lighting to reveal hidden dust and debris. Consider using a bright flashlight at a 45-degree angle to highlight subtle imperfections on surfaces.
A thorough final inspection separates amateur cleanup from professional-grade results.
Comprehensive space assessment involves more than visual inspection. Run your hands gently over surfaces, feeling for residual dust or rough patches. Pay special attention to often-overlooked areas like baseboards, window tracks, light fixtures, and behind appliances.
Pro tip: Wear white cotton gloves during your final inspection to instantly reveal dust and grime that blend into colored surfaces.
Make Renovation Cleanup Easy with Expert Help
Renovation cleanup can feel overwhelming with all the dust, debris, and stubborn residues left behind. This article highlights the common challenges of managing post-construction mess—from removing large debris safely to deep cleaning floors, fixtures, and air vents. If your goal is to reclaim your home as a spotless, comfortable sanctuary without the stress or physical strain, professional assistance is the key. The Maid Society specializes in post-renovation cleaning tailored for busy homeowners in Los Angeles who want detail-oriented, thorough service done right the first time.

Discover practical solutions that go beyond basic tidying in our Expert House Cleaning Tips & Tricks | The Maid Society Blog. We understand the importance of systematic debris removal, dust control, and final inspections to deliver exceptional results. Take the next step to enjoy a pristine home and save valuable time by exploring our trusted cleaning services at The Maid Society. Schedule your post-construction cleaning now to transform your newly renovated space with care and respect from a team you can rely on.
Frequently Asked Questions
How do I create a comprehensive cleanup strategy for renovation?
To create a comprehensive cleanup strategy, break the process down into manageable stages. Start by clearing out debris and construction materials, then gather all necessary cleaning supplies, and organize your workspace systematically from top to bottom.
What cleaning supplies do I need for effective renovation cleanup?
For effective renovation cleanup, gather heavy-duty trash bags, protective gloves, microfiber cloths, various cleaning solutions, and extension tools for hard-to-reach areas. Having these tools ready will enhance your efficiency and ensure thorough cleaning throughout the process.
How can I safely remove large debris after a renovation?
To safely remove large debris, sort it into categories such as wood scraps, concrete fragments, and packaging materials. Use sturdy containers and wear protective gear, disposing of items responsibly to minimize environmental impact.
What steps should I take to control dust in my home post-renovation?
To control dust, systematically clean all surfaces, focusing on walls, ceilings, and air vents. Utilize microfiber cloths and extension dusters to capture fine particles and ensure thorough dust removal from hard-to-reach areas.
How do I deep clean floors, fixtures, and appliances after a renovation?
To deep clean floors, fixtures, and appliances, start with dry cleaning methods like vacuuming before using pH-balanced cleaners. Focus on specific cleaning techniques tailored to each surface type, making sure to address hidden debris under appliances.
What should I include in my final inspection after renovation cleanup?
In your final inspection, systematically check each room for missed spots, using both natural and artificial lighting. Feel surfaces with clean hands to detect any remaining dust and ensure a pristine environment.
Recommended
- Why Post Renovation Cleaning Matters in Los Angeles
- How to Deep Clean Home Naturally for Professional Results
- Step by Step House Cleaning Guide for a Spotless Home
- Maintain Your Home After Your Cleaning Service: Step-by-Step Guide
Get Cleaning Tips & Exclusive Offers
Join our community for time-saving hacks and special discounts delivered to your inbox.