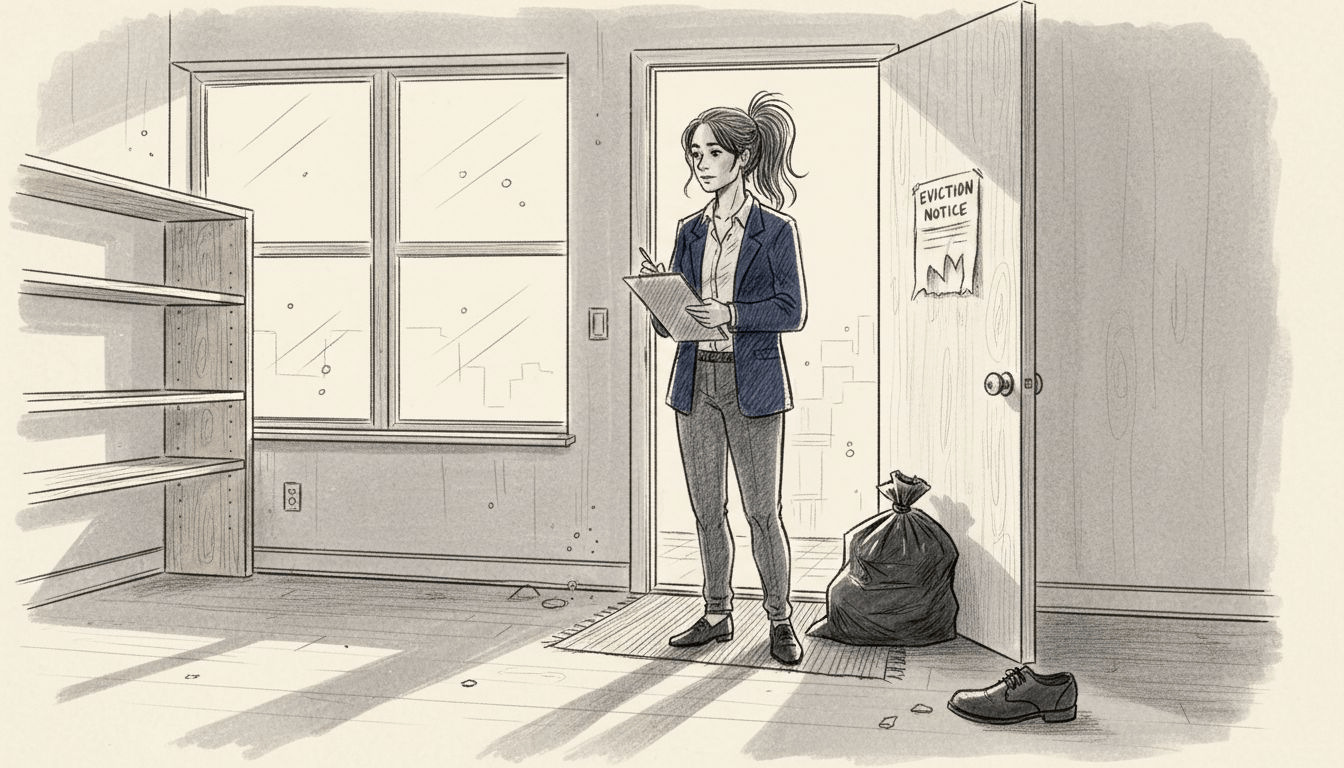
Walk into an apartment turnover in Los Angeles and you might see scattered supplies, leftover tenant belongings, and missed cleaning targets slowing you down. For property managers, quick and high-quality move-outs matter because new tenants expect spotless living spaces. By focusing on assembling all necessary cleaning supplies upfront, clearing every room before cleaning begins, and prioritizing high-traffic zones, you can transform your turnover process for maximum speed and reliability.
Table of Contents
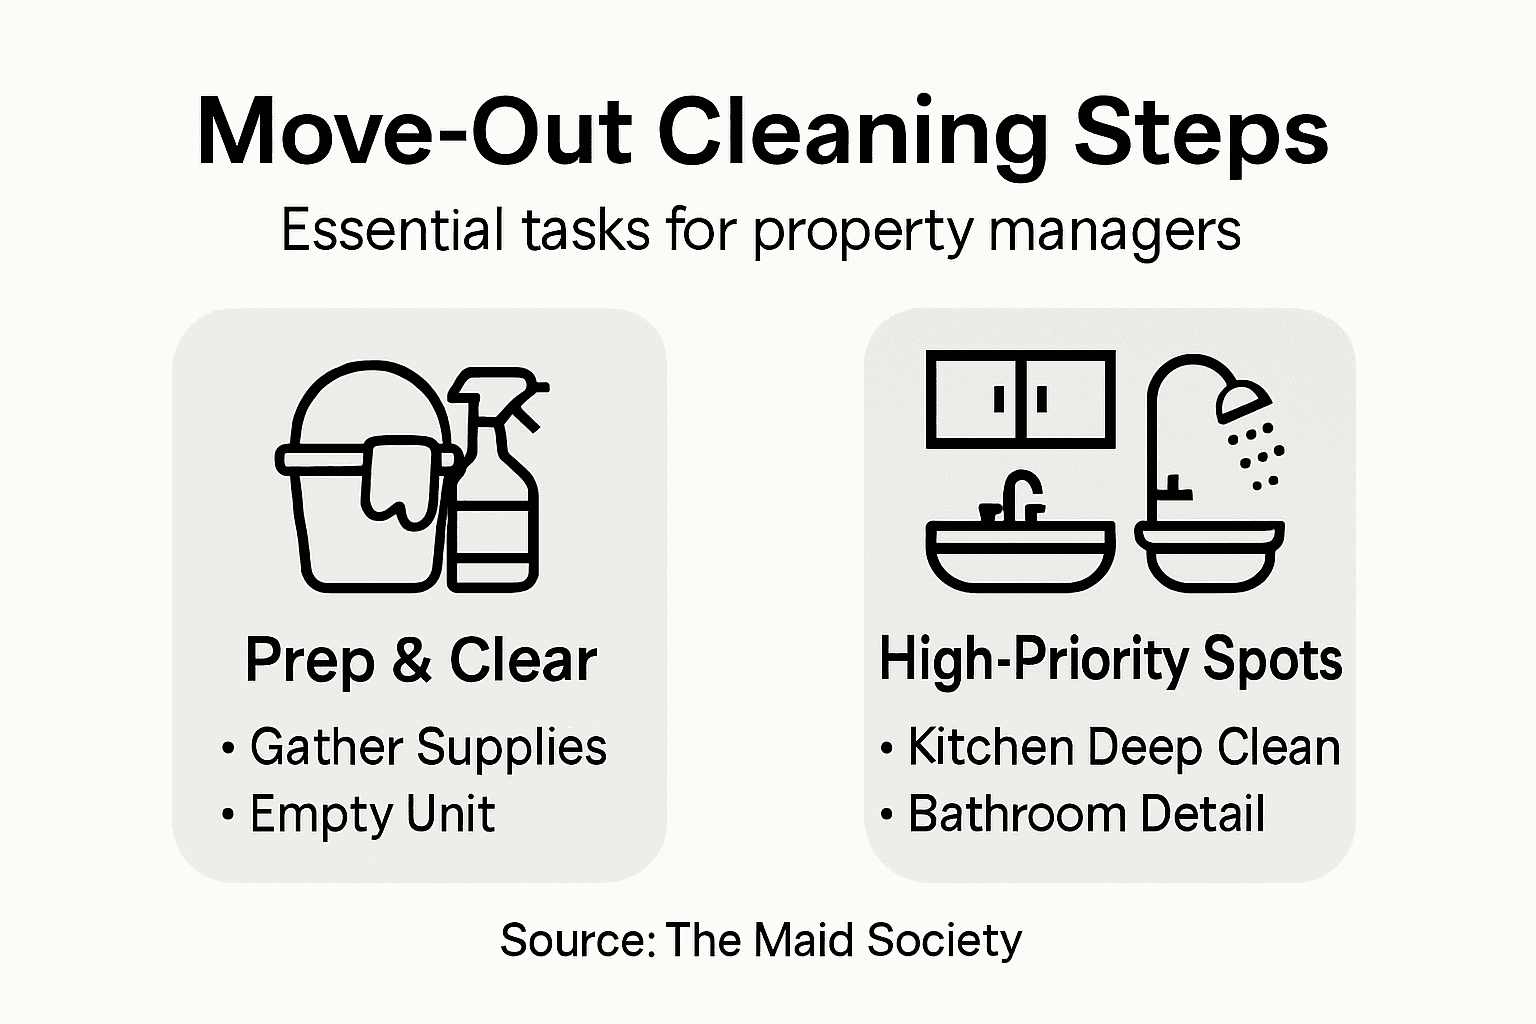
- Step 1: Prepare Supplies and Clear The Space
- Step 2: Tackle High Traffic Areas First
- Step 3: Deep Clean Kitchens and Bathrooms
- Step 4: Address Bedrooms and Living Spaces
- Step 5: Verify Quality and Finish Touches
Quick Summary
| Key Point | Explanation |
|---|---|
| 1. Gather Supplies Before Cleaning | Collect all necessary cleaning supplies upfront to avoid interruptions during the process and work efficiently. |
| 2. Start with High Traffic Areas | Clean entryways, hallways, kitchens, and bathrooms first as they accumulate the most dirt and grease over time. |
| 3. Deep Clean Kitchens and Bathrooms | Focus on intensive cleaning in these areas since their cleanliness directly impacts tenant satisfaction and property inspections. |
| 4. Thoroughly Dust and Inspect Bedrooms | Address dust accumulation and details in bedrooms to ensure these spaces feel fresh and welcoming for new tenants. |
| 5. Conduct a Final Walk-Through | Verify the cleanliness and functionality of all surfaces and fixtures to ensure readiness for the next tenants. |
Step 1: Prepare Supplies and Clear the Space
Before you start cleaning, you need to set yourself up for success. This means gathering everything you’ll need upfront and creating an empty canvas to work with. When you show up to a unit with supplies scattered around or belongings still cluttering the space, you waste valuable time hunting for tools and navigating around obstacles. The goal here is simple: assemble your resources and remove everything that doesn’t belong so cleaning can happen efficiently.
Start by assembling all necessary supplies before you begin any work. This means gathering your vacuum, mops, microfiber cloths, trash bags, degreaser, disinfectant, and any specialized cleaners you might need for different surfaces. Check your inventory against what the unit actually requires. A unit with heavy carpet staining might need an enzyme cleaner, while one with greasy kitchen surfaces demands a powerful degreaser. Read the labels on all your products to understand proper dilution ratios and safety requirements. Nothing kills momentum faster than discovering mid-cleaning that you’re out of a critical product. Keep everything organized in a caddy or clearly labeled container so you can move quickly from room to room without searching.
Now tackle the clearing phase. Walk through the entire unit and remove all tenant belongings, trash, and items left behind. This includes furniture, boxes, personal items, and accumulated junk that gets left in closets or storage spaces. Many Los Angeles property managers underestimate how long this takes, especially with units that have been occupied for several years. Tenants often leave surprising amounts of debris behind, from broken picture frames to old cleaning supplies under sinks. Create separate piles for donation items, trash, and anything that might belong to the tenant that you’ll need to store or return. Once the space is completely empty, you’ll see exactly what you’re working with. This reveals stains, damage, and areas needing extra attention that were hidden under furniture or clutter. Clear each room from top to bottom, working systematically so you don’t miss any corners or closets. This systematic approach prevents you from having to re-clear spaces later.
Pro tip: Take photos of the empty unit before you start cleaning to document its condition, and photograph any damage you discover during the clearing phase. This protects you against disputes over deposits and provides clear evidence of what needed attention.
Step 2: Tackle High Traffic Areas First
High traffic zones tell the story of how a unit has been lived in. Entryways, hallways, kitchens, and bathrooms accumulate dirt, grime, and wear faster than any other spaces because tenants pass through them constantly. Starting with these areas first makes strategic sense. You remove the heaviest soil deposits when your cleaning supplies are fresh and your energy is high, and you prevent dirty residue from spreading to already-cleaned spaces. This approach also gives you momentum early on, which matters psychologically when facing a full unit cleaning.
Begin by vacuuming and mopping high traffic areas thoroughly, starting with the entryway and working through hallways toward the kitchen and bathrooms. These spaces need aggressive attention. Use your vacuum first to capture loose dirt, dust, and debris that accumulates on floors. Pay special attention to corners where dirt settles and along baseboards where grime builds up over months or years. Once you’ve vacuumed, mop with a disinfectant solution appropriate for the floor type. Tile and vinyl can handle stronger cleaners, while wood requires gentler solutions. Don’t skip the baseboards in these high traffic zones either. Many property managers overlook them, but tenants notice, and inspectors definitely do. Wipe them down with a damp cloth and appropriate cleaner. In the kitchen, high traffic areas extend beyond just the floor. The area around the sink, the front of appliances, and the space between counters and walls all accumulate grease and grime. Scrub these surfaces with a degreaser and allow it to sit for a few minutes before wiping, which gives the chemical time to break down built-up residue.
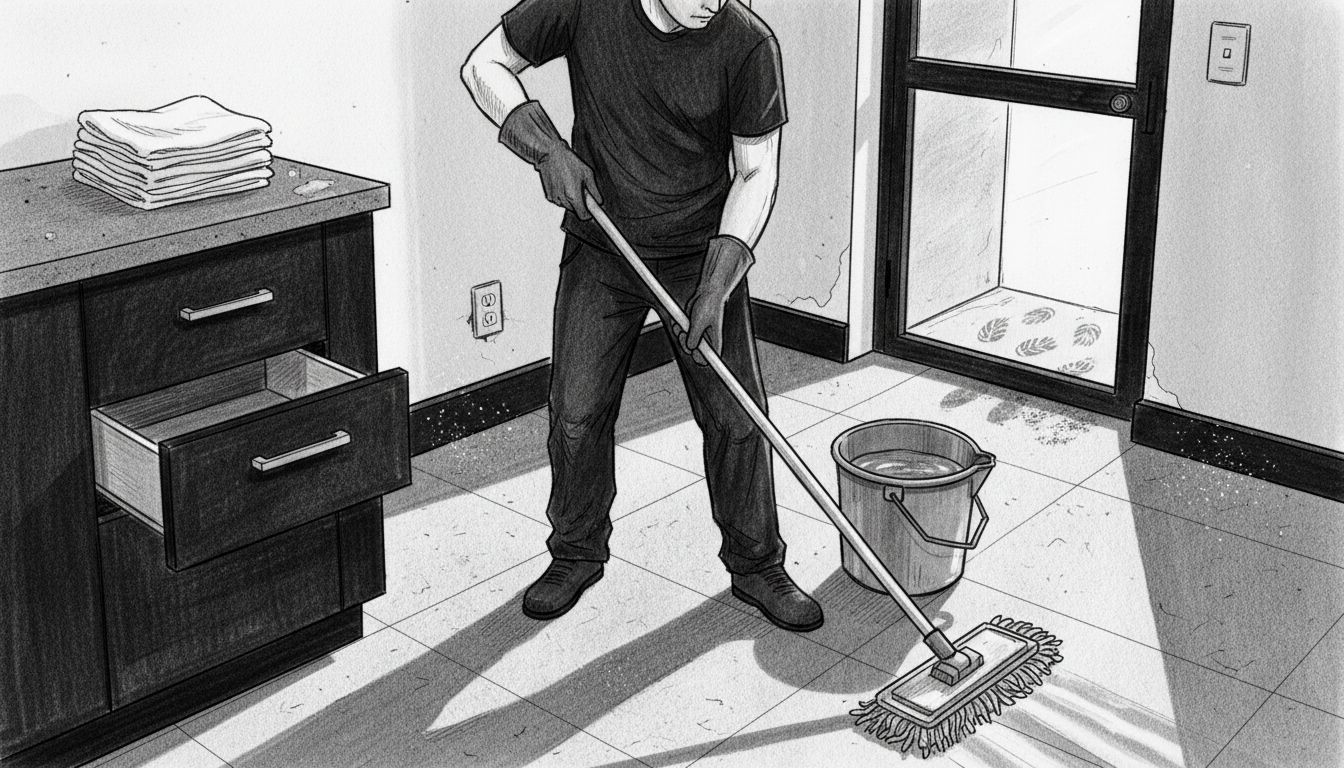
Bathroomsentrances and the area in front of the toilet also need extra attention since they’re ground zero for moisture and bacterial growth. Clean and disinfect these spots thoroughly. The reason you tackle high traffic areas early is straightforward. Once these dirtiest zones are handled, you’ll have clean surfaces to work around as you move into less-trafficked areas. This prevents cross contamination and keeps your momentum strong. You’re checking off the hardest work first, which mentally pushes you toward completion.
Pro tip: Identify your high traffic zones before you start by looking for visible wear patterns on floors and surfaces, then allocate 40 percent of your total cleaning time to these areas since they demand the most intensive work.
Step 3: Deep Clean Kitchens and Bathrooms
Kitchens and bathrooms are where move-out inspections get won or lost. These rooms reveal the most about how a unit has been maintained, and they’re where tenants accumulate the most grime, grease, and bacterial growth. A thorough deep clean in these spaces transforms the entire unit’s appearance and ensures you meet the standards that will satisfy new tenants and pass property inspections. This is where you spend focused time and effort, because shortcuts here will be noticed immediately.
Start in the kitchen by tackling appliances and surfaces systematically. Clean the inside and outside of the refrigerator first, including defrosting if needed and wiping down all interior shelves and walls. Move to the oven and stovetop, where grease buildup demands aggressive degreasing. Apply a commercial oven cleaner and let it sit for the time recommended on the label, then scrub thoroughly. The stovetop burners and surrounding areas accumulate months of splattered grease. Use a degreaser and allow it to penetrate before wiping. Don’t overlook the microwave interior and exterior, or the dishwasher front and sides. Wipe down all cabinet fronts and handles, where fingerprints and grime accumulate. Clean under and behind appliances where dust settles, and pay attention to the floor beneath the sink where water damage and debris often hide. Countertops should be scrubbed with an appropriate cleaner for their material, and sink basins need proper disinfecting techniques to eliminate bacteria and odors. Use an EPA-registered disinfectant and allow contact time as directed on the label.
Bathroomwork requires equal intensity. Start with the toilet, cleaning both inside the bowl with a toilet brush and disinfectant, and thoroughly scrubbing the exterior base and tank where urine splatter accumulates. Wipe down all surfaces with a disinfectant, paying special attention to toilet fixture handles. The sink and vanity need the same treatment as kitchen sinks. Scrub tile grout lines where mold and mildew grow, and ensure you disinfect the shower or tub completely. Many managers miss the ceiling in bathrooms, where moisture creates discoloration and mold spots. Wipe down light fixtures, ventilation covers, and any surfaces that show moisture damage. Clean mirror glass thoroughly and wipe baseboards. Bathroom floors need extra attention since they’re prone to water damage and bacterial growth. Mop with a disinfectant solution and allow it to sit briefly before a final wipe.
Pro tip: Tackle the inside of refrigerators and ovens early in your kitchen work since they require soaking time, then move to other tasks while those products work, maximizing your efficiency and time management.
Step 4: Address Bedrooms and Living Spaces
Bedrooms and living areas require different cleaning strategies than kitchens and bathrooms. These spaces are typically less soiled but demand attention to detail, dust accumulation, and carpet or flooring conditions. Your goal here is to leave rooms feeling fresh, bright, and move-in ready. Unlike high traffic zones, bedrooms benefit from a methodical approach that covers every surface without rushing, because buyers and new tenants will spend considerable time evaluating these spaces.
Start by dusting all surfaces from top to bottom. This includes ceiling corners where cobwebs and dust settle, light fixtures and ceiling fans, window sills and frames, baseboards, and any built-in shelving or closet shelves. Use a microfiber cloth or duster that captures dust rather than scattering it into the air. Work from the highest point in the room downward so dust doesn’t settle on already-cleaned surfaces. Windows deserve special attention. Wipe down both interior and exterior panes, frames, and sills thoroughly. Many property managers skip window cleaning entirely, but it dramatically impacts how bright and well-maintained a space feels. Next, tackle flooring. If the bedroom has carpet, vacuum thoroughly in multiple directions to lift fibers and remove embedded debris. For hard flooring, sweep first to capture all dust and loose particles, then mop with an appropriate cleaner for the material type. Pay close attention to corners and edges where dust accumulates. Living spaces follow the same approach. Dust all surfaces and vacuum or clean carpets thoroughly to maintain freshness and hygiene. If living rooms contain built-in shelving, media centers, or fireplaces, these need careful attention. Wipe down shelves, TV stands, and mantle surfaces. For fireplaces, clear out any ash and debris, and wipe down the hearth and surrounding surfaces.
Closets often get overlooked but they reveal how thorough your cleaning was. Wipe down closet shelves, rod areas, and interior walls. These spaces accumulate dust and sometimes mold if moisture issues exist. Address any visible mold or water damage immediately. Light switches and door handles throughout bedrooms and living spaces should be wiped with a disinfectant cloth since these are high-touch areas. Finally, inspect walls for scuffs, marks, or damage that might need touch-up or repair. Walk through each room carefully one final time to catch anything you might have missed. This final inspection separates adequate cleaning from excellent cleaning.
Pro tip: Schedule bedroom and living space cleaning for the final stages of your move-out work, after kitchens and bathrooms are complete, so you finish with the cleanest rooms and can conduct a full walk-through inspection while everything is still fresh.
Here’s a summary comparing cleaning priorities across key unit areas:
| Area of Unit | Main Cleaning Priority | Common Challenges | Special Supplies Needed |
|---|---|---|---|
| Kitchen | Appliance deep cleaning | Grease, hidden debris | Oven cleaner, degreaser, gloves |
| Bathroom | Disinfection, mold removal | Grout, moisture spots | Tile cleaner, mold remover |
| High Traffic | Soil and grime removal | Scuffed floors, buildup | Disinfectant mop, baseboard brush |
| Bedrooms/Living | Freshness, dust removal | Cobwebs, carpet stains | Microfiber cloths, carpet cleaner |
This table helps prioritize your efforts and prepares you for the toughest cleaning in each area.
Step 5: Verify Quality and Finish Touches
You’ve spent hours cleaning, and now comes the part that separates thorough work from work that holds up under scrutiny. Verification is where you catch what you missed, ensure quality standards are met, and address final details that transform a cleaned unit into a move-in-ready property. This step takes discipline because you’re tired, but it’s exactly when attention to detail matters most. A property manager in Beverly Hills or Los Angeles who skips this phase risks costly callbacks and tenant complaints that damage your reputation.
Walk through the entire unit with fresh eyes, ideally with another person if possible. Use a thorough cleaning checklist to document that high-touch surfaces and all areas have been addressed. Start at the entry and work room by room, examining everything at eye level and below. Look for dust on baseboards, smudges on light switches and door handles, fingerprints on glass and mirrors, and debris in corners or under furniture that might still be present. Check that all appliances are spotless, inside and out. Inspect grout lines in bathrooms and kitchens for remaining discoloration. Walk on the flooring at different angles to catch streaks or remaining debris that might be invisible from one perspective. Open cabinets and closets to verify they’re clean inside. Test faucets to ensure they’re running properly and there’s no residue or dripping. Flip light switches and turn on ceiling fans to confirm everything functions. This is also when you’ll notice any maintenance issues that need addressing before the next tenant moves in.
Finish touches elevate the entire unit. Ensure all trash has been removed and receptacles are empty. If the property uses air fresheners or has a scent profile, apply it now. Verify that all doors close smoothly, locks function, and blinds or curtains operate properly. Take final photos or video documentation of the clean unit’s condition from multiple angles in each room. These photos protect you in deposit disputes and provide clear before images if any damage occurs during tenant move-in. Walk through one more time at a different time of day if possible, as lighting changes can reveal smudges or areas you missed. This final verification ensures you’re delivering exactly what new tenants expect and what property inspections require.
Below is an overview of final verification steps and their value:
| Task | Purpose | Business Impact |
|---|---|---|
| Checklist walk-through | Ensure nothing is missed | Fewer tenant complaints |
| Photo documentation | Record unit condition | Protects against disputes |
| Functional testing | Confirm fixtures work | Reduces maintenance call-backs |
| Final scent application | Enhance first impression | Increases tenant satisfaction |
Following these steps ensures your units are truly move-in ready and reduces future issues.
Pro tip: Create a customized verification checklist specific to your units in Los Angeles, including all amenities and features, then photograph and check off each item as you complete the final inspection to maintain consistency and protect against liability.
Simplify Move-Out Cleaning with Expert Help from The Maid Society
Managing move-out cleanings can be overwhelming with so many steps to prepare supplies, deep clean kitchens and bathrooms, and verify every detail to satisfy property inspections. The challenges of removing heavy grime from high traffic areas and ensuring every corner is spotless can feel like a race against time and tenant demands. Property managers and busy professionals often face stress trying to master this entire process alone.
The Maid Society understands these pain points and offers a trusted solution to handle every stage with expert care. From thorough move-in and move-out cleaning services to deep cleaning kitchens, bathrooms, and living spaces, our fully vetted and trained team delivers consistent, detail-oriented work tailored to Los Angeles properties. This relieves your burden so you can focus on your core responsibilities while ensuring your units are pristine and move-in ready.
Explore practical guidance and real-world cleaning tips in our Move-In & Move-Out Cleaning Tips | The Maid Society category to complement our professional services.
Ready to elevate your property management and avoid costly callbacks or tenant disputes? Visit The Maid Society now to book a service or learn how our approach transforms stressful move-out cleaning into a seamless experience. Discover more expert advice in our Expert House Cleaning Tips & Tricks | The Maid Society Blog and take the first step toward stress-free property care today.
Frequently Asked Questions
How do I prepare supplies for a move-out cleaning?
Gather all necessary cleaning supplies upfront, including a vacuum, mop, microfiber cloths, trash bags, degreasers, and disinfectants. Ensure everything is organized in a caddy or labeled container to streamline your cleaning process.
What areas should I focus on first during the cleaning process?
Start with high traffic areas like entryways, hallways, kitchens, and bathrooms, as these spots accumulate the most dirt and grime. Allocate about 40 percent of your total cleaning time to thoroughly clean these areas.
What specific cleaning tasks should be completed in kitchens and bathrooms?
Deep clean all appliances, countertops, and sinks in the kitchen, and ensure thorough disinfection of toilet, sink, and shower areas in the bathroom. Scrub grout lines and pay attention to surfaces that often harbor bacteria, such as handles and fixtures.
How can I ensure bedrooms and living spaces are cleaned effectively?
Dust all surfaces from top to bottom in bedrooms and living areas, focusing on fixtures, shelves, and windows. Vacuum carpets thoroughly and mop hard floors to achieve a fresh and inviting environment for potential tenants.
What steps should I take for the final verification of the cleaning?
Conduct a checklist walk-through of the unit, looking for any missed spots and testing all fixtures. Document the unit’s condition with photos and ensure that all details, such as trash removal and final scent application, are addressed before the unit is ready for new tenants.
How can I manage my time effectively throughout the cleaning process?
Create a structured plan that allocates specific time blocks for each major area, including high traffic zones and deep cleaning tasks. Aim to finish cleaning kitchens and bathrooms first to maximize efficiency, then proceed to bedrooms and living spaces, ensuring a systematic approach.
Recommended
- 7 Essential Steps for a Move-Out Cleaning Checklist
- 7 Key Advantages of Move-Out Cleaning for Busy Families
- Why Schedule Move-Out Cleanings for Stress-Free Moves
- Move-In Cleaning Procedure for a Fresh Start Home
- 7 Must-Do Steps for a Moving Out Cleaning Checklist Malta | Rozie – Malta’s Best Cleaning Services
Get Cleaning Tips & Exclusive Offers
Join our community for time-saving hacks and special discounts delivered to your inbox.