
Post-construction cleanup often reveals just how challenging it can be to restore order and safety after the dust settles. For contractors and builders in Los Angeles, transforming a job site into a spotless, client-ready environment requires meticulous planning. From gathering the right supplies to establishing clear cleaning zones and prioritizing debris removal, each step paves the way for a smooth handoff to your clients. Discover how a systematic approach to deep cleaning post-construction ensures both safety and satisfaction every time.
Table of Contents
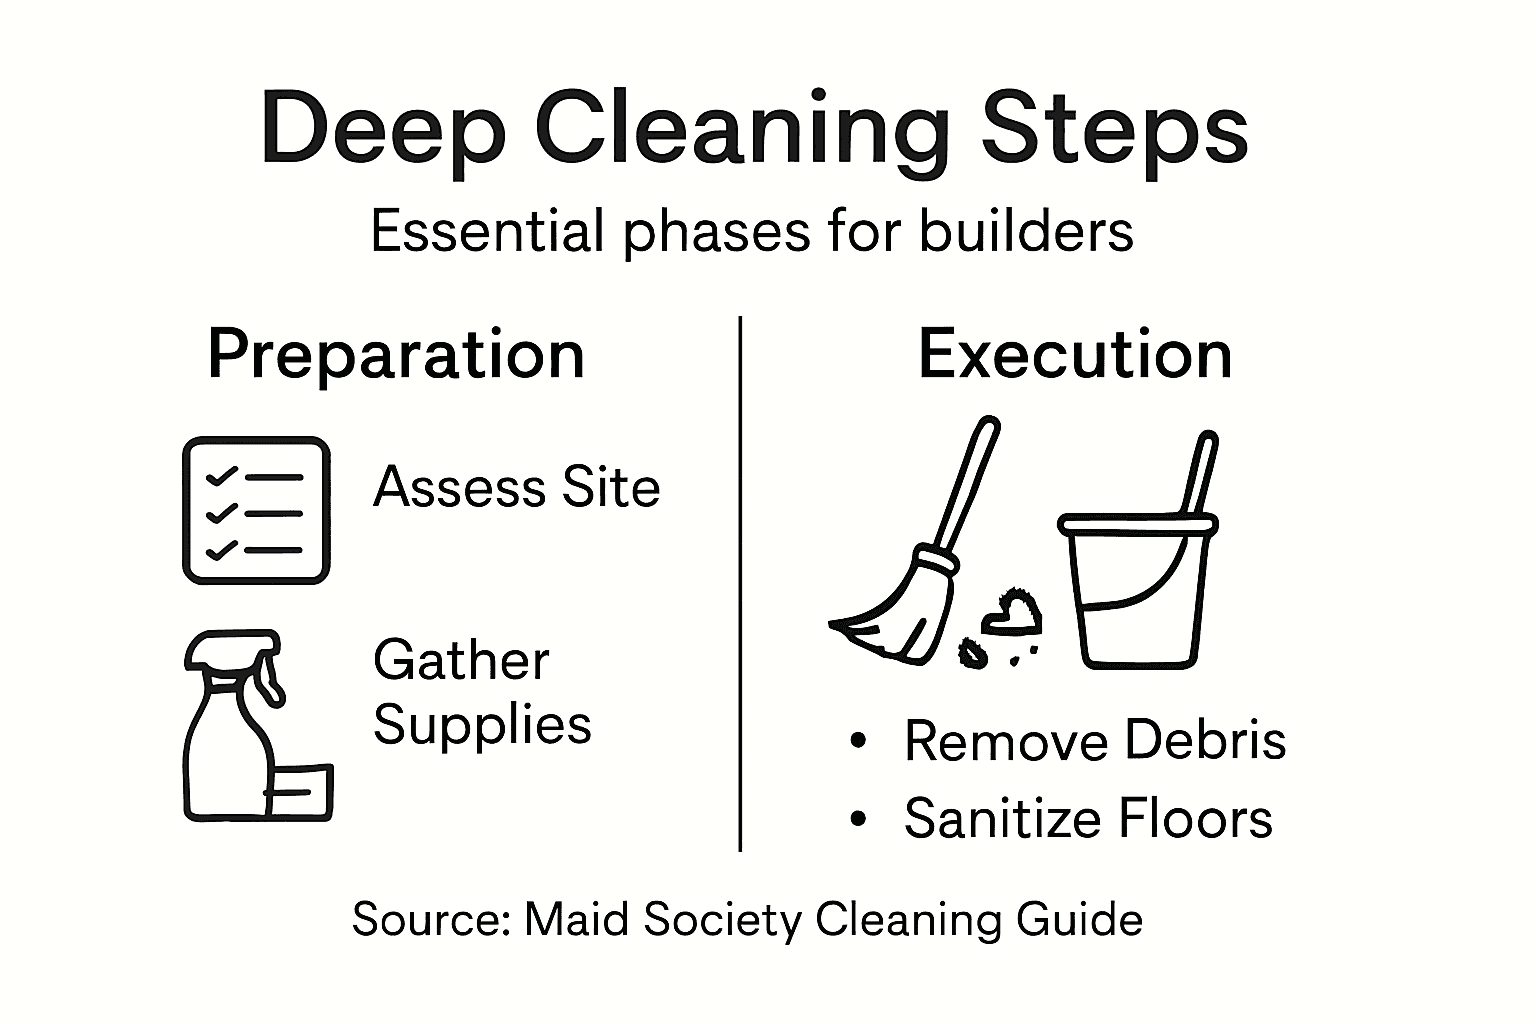
- Step 1: Assess Site and Gather Supplies
- Step 2: Remove Debris and Dust Surfaces
- Step 3: Clean Fixtures and Detailing Areas
- Step 4: Sanitize Floors and Living Spaces
- Step 5: Inspect Work and Finalize Results
Quick Summary
| Key Point | Explanation |
|---|---|
| 1. Assess and Prepare Site Effectively | Conduct a thorough assessment of the site and gather tailored cleaning supplies to enhance efficiency. |
| 2. Systematically Remove Debris and Dust | Begin cleaning by removing large debris and using a HEPA vacuum to ensure all dust is captured. |
| 3. Clean Fixtures and Delicate Areas | Focus on high touch surfaces, using appropriate cleaning solutions to avoid damage to finishes. |
| 4. Sanitize Floors and Living Areas | Utilize EPA-approved disinfectants and color-coded cleaning materials to maintain hygiene without cross-contamination. |
| 5. Conduct a Detailed Final Inspection | Perform a meticulous walkthrough and document findings to ensure all areas meet quality standards before client presentation. |
Step 1: Assess Site and Gather Supplies
Before diving into deep cleaning a post-construction site, your first priority is thoroughly assessing the workspace and preparing your cleaning arsenal. Site preparation involves comprehensive evaluation of the environment you will be transforming from a raw construction zone to a pristine, client-ready space.
Your initial walkthrough should focus on understanding the specific cleaning challenges unique to this project. Scan the area for construction debris like sawdust, drywall remnants, paint splatters, and stray nails. Map out high traffic zones, areas requiring special attention, and potential hazard spots. Designating specific zones for waste and organizing cleaning supplies will streamline your entire cleaning process and ensure maximum efficiency.
Gather an extensive cleaning kit tailored to post construction needs: heavy duty vacuum with HEPA filter, microfiber cloths, extendable dusting tools, industrial strength cleaning solutions, protective gloves, safety glasses, respirator masks, and sturdy trash bags. Separate your supplies into categories water-based cleaning, dust removal, surface sanitization, and debris collection to create a systematic approach.
Pro tip: Always conduct a pre cleaning safety assessment and wear appropriate personal protective equipment to prevent potential injury during post construction cleanup.
Here’s a summary of common post-construction cleaning challenges and their recommended solutions:
| Cleaning Challenge | Recommended Solution | Safety Consideration |
|---|---|---|
| Sawdust and fine debris | HEPA-filtered vacuum, dusting | Use respirator masks |
| Drywall and paint residues | Industrial cleaning solution | Wear gloves and goggles |
| Nails and sharp objects | Manual removal, trash bags | Use heavy-duty gloves |
| Residue on high fixtures | Extendable dusting tools | Ladder safety practices |
Step 2: Remove Debris and Dust Surfaces
After your initial site assessment, the critical next phase involves systematically removing construction debris and dust from every surface. Your goal is transforming a chaotic post construction site into a pristine space ready for final inspection. Systematic dust and debris removal techniques are essential for creating a clean and safe environment.
Begin by removing large debris manually using heavy duty trash bags and protective gloves. Collect nails, wood scraps, drywall pieces, and packaging materials in designated waste zones. For surface dust and fine particulates, use a high powered vacuum with HEPA filtration to capture microscopic particles. Construction site waste management involves careful collection procedures that prevent potential respiratory hazards and maintain workplace safety.
Work methodically from top to bottom surfaces starting with ceilings, light fixtures, and upper walls before moving to lower areas. Use microfiber cloths for delicate surfaces and extendable dusting tools to reach high corners. Pay special attention to window sills, baseboards, and hard to reach areas where construction dust tends to accumulate. Ensure thorough cleaning by using gentle brushing techniques that remove dust without damaging newly finished surfaces.
Pro tip: Always wear a respirator mask and safety glasses during debris removal to protect yourself from potentially harmful dust particles.
Step 3: Clean Fixtures and Detailing Areas
With debris removed, your next critical task involves meticulously cleaning every fixture and detailed surface to transform the construction site into a polished professional space. Detailed cleaning procedures require specialized techniques that address every small component and surface area.
Start by focusing on high touch surfaces like light switches, door handles, electrical outlets, and cabinet hardware. Use microfiber cloths with appropriate cleaning solutions designed for specific materials to prevent damage. Surface cleaning requires careful selection of cleaning materials that effectively remove grime without scratching or compromising the finish. Pay special attention to intricate areas around fixtures where construction dust and residue tend to accumulate.
Work systematically through each room using soft brushes for delicate surfaces and specialized cleaning tools for hard to reach areas. Wipe down thermostats, ceiling fans, window frames, and baseboards using gentle yet effective cleaning motions. Ensure you use different cloths for different surface types to prevent cross contamination and maintain the highest cleaning standards.
Pro tip: Always test cleaning solutions on a small inconspicuous area first to ensure compatibility with the surface material and prevent potential damage.
Step 4: Sanitize Floors and Living Spaces
The final phase of your deep cleaning process involves thoroughly sanitizing floors and living spaces to ensure a pristine post-construction environment. Comprehensive sanitization requires precise disinfection protocols that eliminate potential contaminants and create a healthy space.
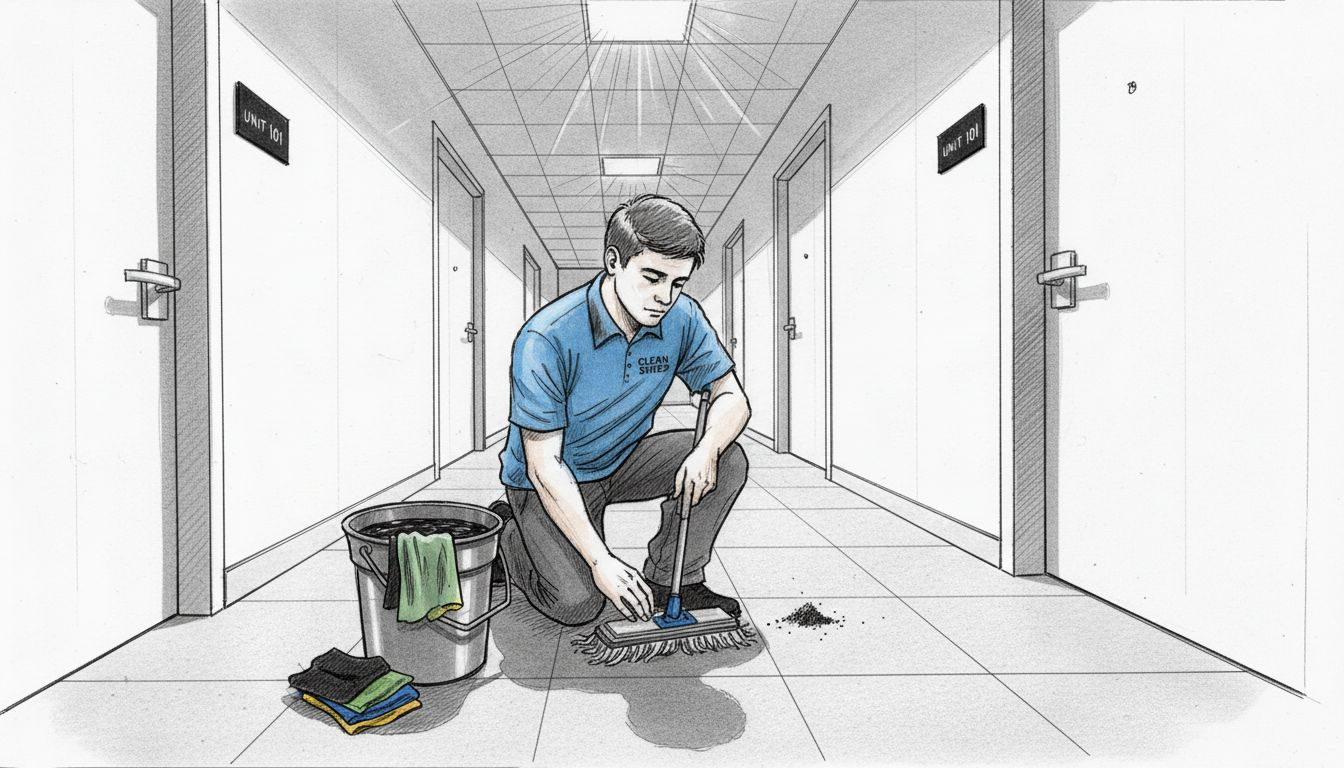
Begin by selecting EPA-approved disinfectants appropriate for different floor types hardwood, tile, concrete, or carpeted surfaces. Use microfiber mops and designated cleaning cloths for each surface to prevent cross-contamination. Surface sanitation demands systematic cleaning validation ensuring every square inch receives thorough treatment. Pay special attention to high traffic areas and zones prone to dust accumulation during construction.
Work methodically from one end of the space to another using consistent cleaning techniques. Ensure proper dwell times for disinfectants to effectively kill potential pathogens. Change mop heads and cleaning solutions frequently to maintain maximum hygiene standards. Allow surfaces to air dry completely after sanitization to prevent moisture buildup and potential mold growth.
Pro tip: Invest in color coded cleaning materials to prevent cross-contamination and maintain a systematic approach across different surface types.
This table compares different cleaning tools used throughout the process and their ideal application areas:
| Tool/Material | Best Use Area | Efficiency Impact |
|---|---|---|
| Microfiber cloths | Fixtures, surfaces | Prevents scratching |
| Industrial vacuum (HEPA) | All surfaces, floors | Removes fine particles |
| Specialized brushes | Delicate fixtures | Reaches small crevices |
| Color-coded mop heads | Floors, living spaces | Reduces cross-contamination |
Step 5: Inspect Work and Finalize Results
The culmination of your deep cleaning process requires a meticulous final inspection to ensure every detail meets the highest professional standards. Cleaning validation involves systematic verification of your comprehensive cleaning efforts against established quality criteria.
Conduct a thorough walkthrough of the entire space using natural and artificial lighting to reveal any missed spots or imperfections. Check surfaces systematically from top to bottom, paying special attention to corners, edges, and hard to reach areas. Final site inspection confirms complete cleaning and safety standards ensuring the space is ready for client presentation. Document your findings using a detailed checklist to track and resolve any remaining cleaning requirements.
Prepare a professional summary report highlighting the cleaning process, areas addressed, and any recommendations for future maintenance. Remove all cleaning equipment and waste materials from the site. Conduct a final visual and tactile inspection to confirm the space meets or exceeds project specifications. Take photographs to document the completed work and provide evidence of your thorough cleaning process.
Pro tip: Create a standardized inspection checklist with specific criteria to ensure consistent quality across different projects and minimize potential oversight.
Ensure Flawless Post-Construction Cleanups with Trusted Experts
The challenge of transforming a newly built or renovated space into a spotless, client-ready environment demands careful attention to detail and specialized cleaning methods. From managing sawdust and drywall residue to sanitizing floors and delicate fixtures, the deep cleaning process described highlights the complexities builders face during post-construction cleanup. If you want to avoid hidden dust hazards, inconsistent cleaning, and time-consuming efforts, partnering with a professional team is essential.
The Maid Society offers expert solutions tailored to post-construction cleaning needs. Our fully trained and vetted cleaners understand how to safely remove debris, sanitize every surface, and perform detailed inspections so you can confidently present a flawless space. Discover practical cleaning strategies in our Expert House Cleaning Tips & Tricks | The Maid Society Blog and learn how our meticulous approach reduces stress for builders and property owners alike.
Don’t let post-construction cleaning challenges delay your project completion or impact your client’s satisfaction. Visit The Maid Society today and schedule your deep cleaning to experience consistent, detail-oriented service that helps you reclaim time and impress every stakeholder.
Frequently Asked Questions
What are the key steps in the deep cleaning process for builders?
The key steps include assessing the site, removing debris and dust, cleaning fixtures and detailed areas, sanitizing floors and living spaces, and conducting a final inspection. Follow this order to ensure a thorough clean and prepare the space for client presentation.
How can I ensure maximum efficiency during the cleaning process?
To ensure maximum efficiency, categorize your cleaning supplies and designate specific waste zones. For example, prepare separate areas for water-based cleaning, dust removal, surface sanitization, and debris collection to streamline your efforts.
What safety precautions should I take when deep cleaning?
Always conduct a pre-cleaning safety assessment and wear appropriate personal protective equipment, such as gloves, safety glasses, and respirator masks. This protects you from harmful dust and sharp objects during the cleaning process.
How do I properly sanitize different types of floors after construction?
Select EPA-approved disinfectants tailored for each floor type, such as hardwood, tile, or carpet. Use microfiber mops for each surface and ensure proper dwell times for disinfectants to effectively eliminate contaminants.
What should I include in my final inspection checklist?
Your final inspection checklist should include criteria for cleanliness, safety, and readiness for client presentation. Systematically check each area, document any remaining cleaning needs, and take photographs to verify the completed work.
How can I maintain a consistent cleaning standard across projects?
Create a standardized inspection checklist with specific criteria for each project to ensure consistent quality. Aim to review this checklist after each job to minimize potential oversights and maintain high cleaning standards.
Recommended
Get Cleaning Tips & Exclusive Offers
Join our community for time-saving hacks and special discounts delivered to your inbox.